|
|
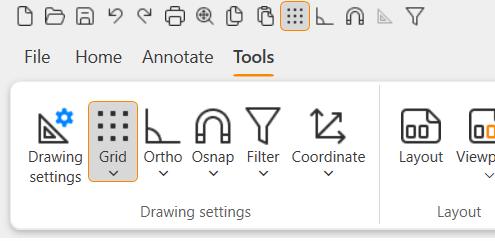
Tools tab > Drawing settings group > Grid, GRID |
With this function, you can set the grid on and off.
You can also toggle the grid mode
-
with F9
-
via the quick access toolbar
-
by right-clicking the grid icon in the lower right corner of the screen and selecting either On or Off
-
with Ctrl + R
-
by clicking the grid button in the Basic 2 toolbar
When the grid is on, the buttons as well as the grid icon are highlighted with orange:
A grid is a dotted mesh displayed on the drawing area. The cursor moves on the screen according to the grid settings. This makes it easier to insert points accurately and decreases the need to insert points from the keyboard.
The points that you enter using the keyboard are not affected by the grid.
You can set the grid dots to be visible or invisible. If you set them to be visible, the program automatically hides the dots if you zoom out far enough and the mesh would be drawn too densely. The grid dots are not printed.
To define grid settings, do the following:
-
Select Tools tab > Drawing settings group > Drawing settings or double-click the grid icon in the lower right corner of the screen. By default, the Drafting settings dialog opens to the Grid tab.
-
Select whether to turn the grid on or off.
-
Select either Normal or Isometric as the grid type. For more information on isometric grids, see Set isometric crosshair.
-
Select the grid spacing.
-
If you want the grid to be visible, select Draw. Enter the draw factor, such as 5, which means that every fifth grid dot is visible.
-
Select whether grid is turned on when you launch a function.
-
Click OK.
You can also set the spacing by right-clicking the grid icon in the lower right corner of the screen.