Create project database structure
Do the following:
-
In the SQL Server project management dialog, select the Databases tab.
-
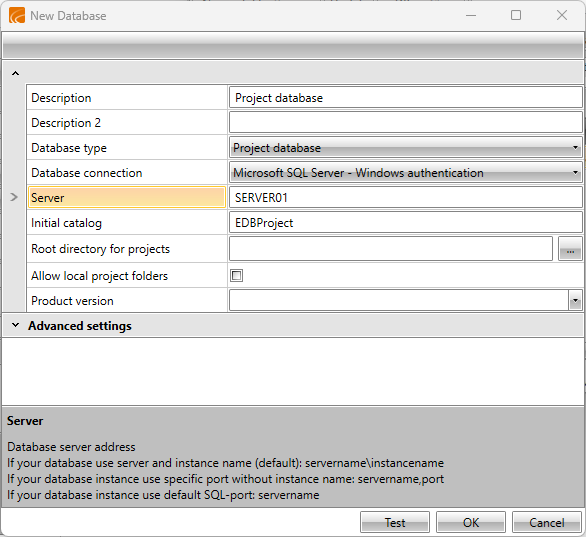
Click New. The New Database dialog opens.
-
Enter the desired description for the database.
-
In the Server field, enter the name of the server in the same way as before, i.e. the server, server and instance, or server and port as follows:
-
If the instance uses the default port 1433, enter the name of the server only, e.g. SERVER01.
-
If the instance uses a static port other than 1433, enter the name in the format [server name],[port], e.g. SERVER01,1910.
-
If you did not define a port at all or you defined a dynamic port, enter both the server name and the instance name in the format [server name]\[instance], e.g. SERVER01\MSSQLSERVER.
In this example, the instance uses the default port 1433 so the connection will be made with the server name SERVER01.
-
-
Click Test. If the server connects, the Testing database connection dialog opens and asks about updating/creating database tables.
-
Click Yes. The Update / create database tables dialog opens.
-
In the table's Create column, click the checkbox to select it.
-
Click Update / create database tables. The program informs you of a successful creation.
-
Click OK.
-
Click Close.
-
Close the New Database dialog by clicking OK. The project database is now ready to be used.
Next, create the shared database structure.