Draw cable tray
Let's draw a cable tray.
Do the following:
-
Select Layout tab > Cableways group > Draw. In the Cableway window, you can define settings for the cableway to be drawn. You can draw all the cableways via this window.
-
For the cableway type, select Cable tray.
-
For the type, select KS80.
-
For width/depth, enter 300.
-
For elevation, enter 2900, and select Bottom of from the drop-down menu.
-
For drawing line, select the left-most option and define 50 as the distance.
-
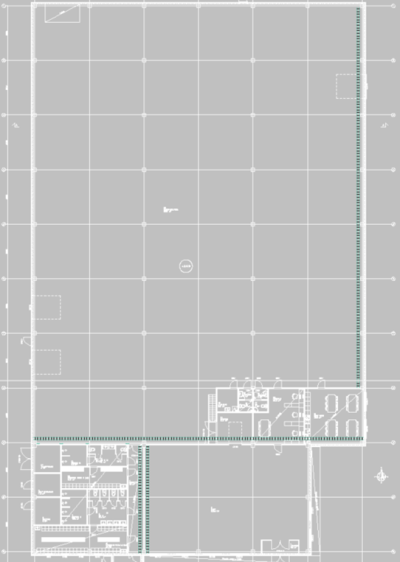
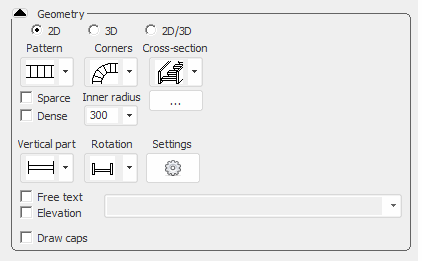
In the Geometry section, select 2D and then the raster and corner as in the image below:
-
Start drawing. You can change the values (the width to 400, for example) while you draw.
Cable tray T branch
If you need to draw a T branch, start drawing again and start from the desired spot. The program adds the branch to the indicated spot automatically.
The T branch is automatically added also when you end the cable tray to another tray in the drawing, as long as the elevation is the same.
Vertical cable tray
A vertical cable tray can be drawn by changing the elevation and selecting the angle. You do not need to stop drawing or use a different function.