Add I/Os
Do the following:
-
Open the device property dialog in one of the following ways:
-
In the Electrical project tree, right-click and select Create new > Device.
-
In the DB tool project tree, right-click and select New > Device.
-
In DB tool, select the Devices tab, right-click in the grid and select New device.
The New device dialog opens.
-
-
Edit the properties as necessary.
-
Click OK.
Edit I/Os in the grid
In the I/Os grid, you can edit the cells with white background right in the grid.
On the right side of the I/O grid, there are additional grids you can use to edit information easily by selecting one or more I/Os, and then dragging and dropping information from the additional grid to the I/O grid. For example, you can select several I/Os and then add I/O card, supply device, field device and/or field device part information for them by dragging them to the grid from the additional grids. You can view additional grid information by pointing the grid name with your mouse.
You can lock the auxiliary grid to the screen from its top right corner with the ![]() button.
button.
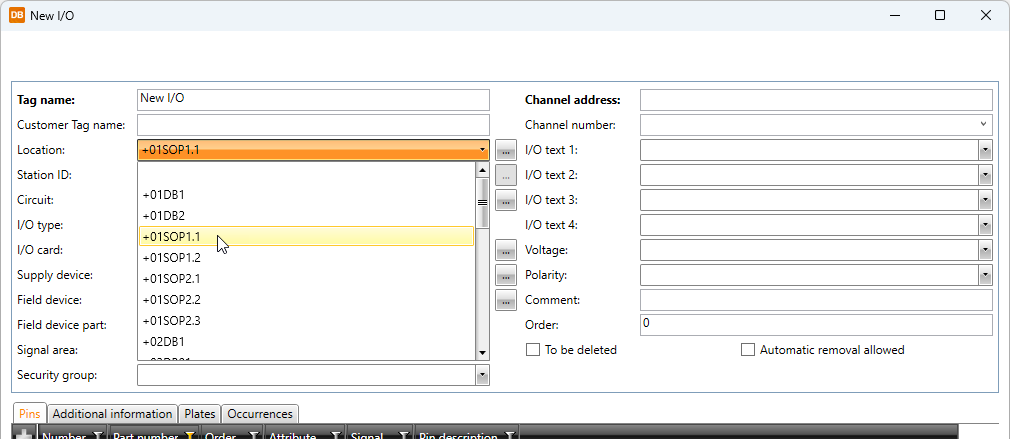
Edit properties of individual I/Os
Do the following:
-
Select the I/Os tab.
-
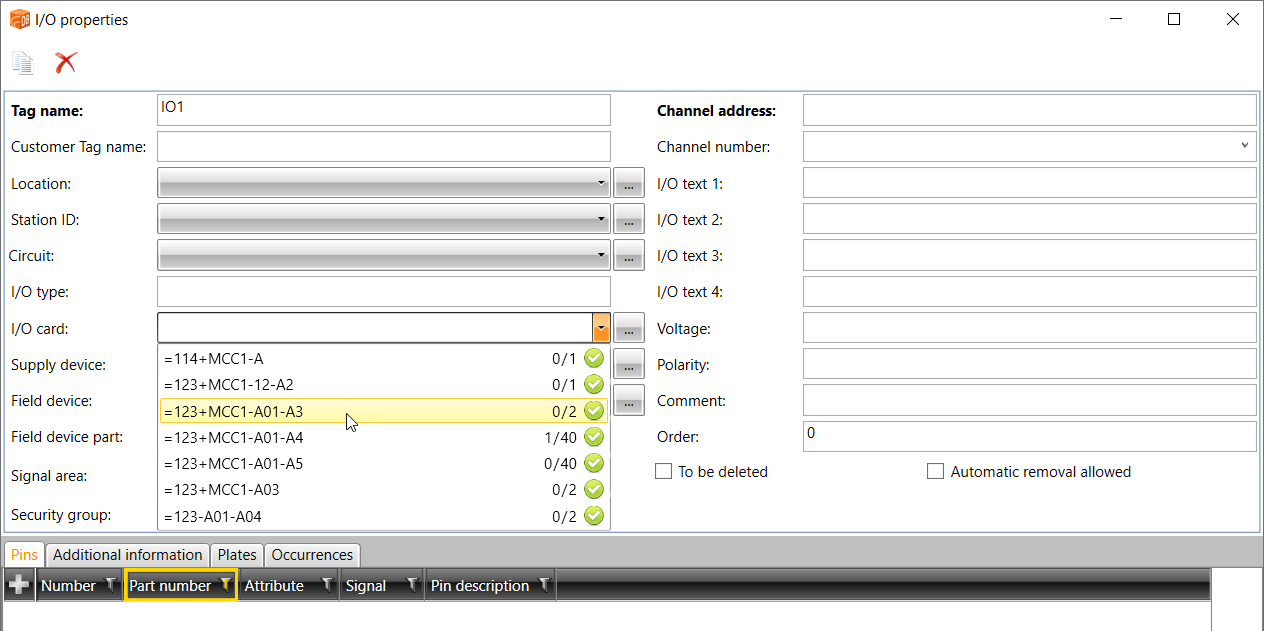
Right-click the I/O you want to edit, and select Edit IO. The I/O properties dialog opens.
-
Edit the desired information. You can, for example, connect the I/O to the desired channel from the I/O card field.
-
The
 icon indicates the number of channels and the number of connected channels.
 -
The
 icon indicates that the I/O card has no channels.
 -
The
 icon indicates the connections with errors.
-
-
Click OK.