| Schematics tab > Markings group > |
With this function, you can create a cable and mark cable data and wire data in the drawing.
You can also mark a cable and its wires to a drawing from the cable wire's right-click menu.
Do the following:
-
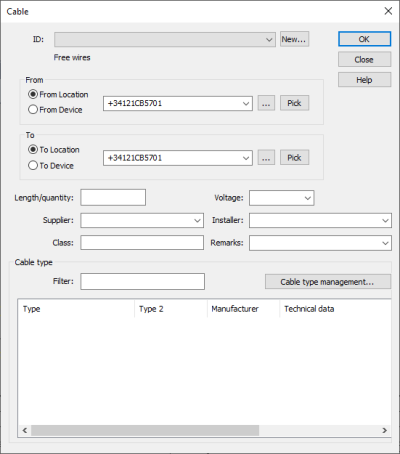
Draw cable mark line across the wire line by indicating the first and then the second point. The Cable dialog opens.
-
Enter cable information. The function reads the From and To information from the drawing. If necessary, you can pick them from the drawing by pointing at the ID (for example, electrical position =123+MCC1 from the drawing template).
-
Click OK. The Assign cables and wires in drawing to this cable dialog opens.
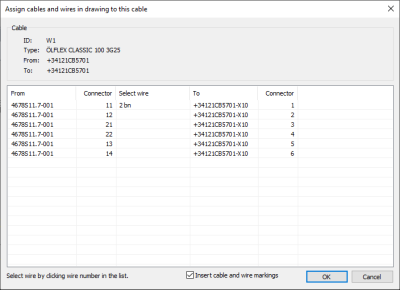
The Select wire drop-down menu shows, if a wire has occurrences.
The function checks the signal information from the wires and the pins: if a pin at either end of the selected wiring matches with the signal information of a wire, they are automatically connected in the dialog.
-
If necessary, select a wire from the list and click OK.
-
Indicate the end point of the cable line.
You can also start the function from the Wirings project tree by right-clicking Cables and selecting Connect and mark cable and its wires. However, the order of operations is then different: you first enter the cable data and then draw the cable.