Attribute categorization
In the Attribute Categorization view, project administrator can define settings that enable the user to easily locate objects that have specific attribute values, for example all objects whose equipment type specifies that they are tank rails. With these settings, objects with specific attribute values can be displayed in the 3D view in a specific color, and the object tree on the Model tab can be arranged according to objects’ attribute values. You can define which user groups are allowed to see a given category; system administrators and projects administrators always see all categories.
Do the following:
-
Navigate to the project to edit, and then click Project Admin in the main menu. The project administration view opens.
-
Click Model Configuration. The Model configuration view opens.
-
Click Attribute Categorization. The Attribute Categorization view opens, listing the currently defined categories.

-
Click Add and select the required attribute from the list.
-
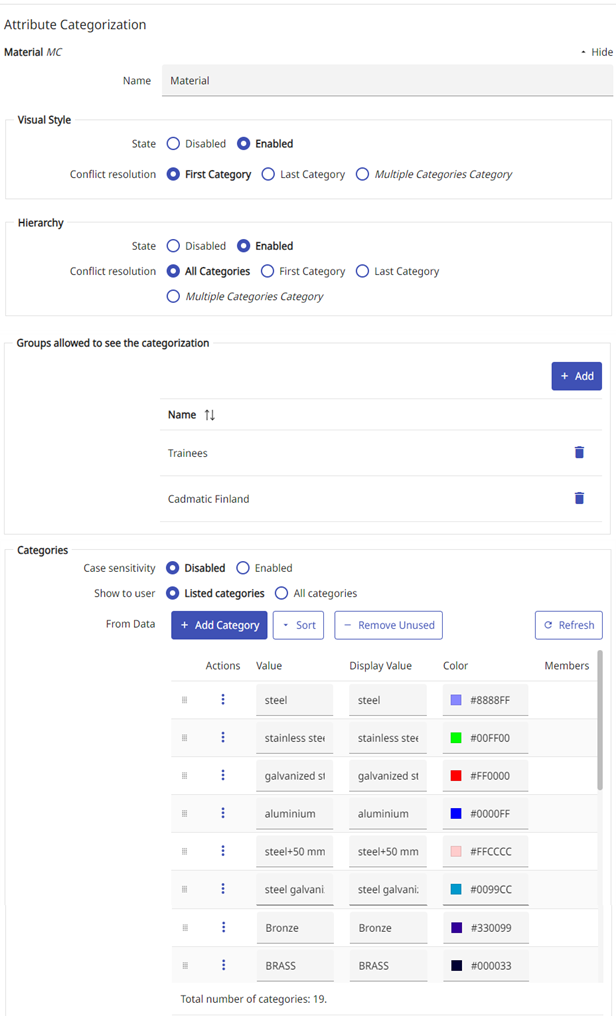
In the Name field, edit the attribute name if needed. This name will be displayed to the user on the Model tab of the 3D viewer, in the visual style and hierarchy drop-down menus. For example, if the attribute name is “Material”, you can shorten its display name to “MC”.
-
Visual Style is enabled by default. When this setting is enabled, the user can select the attribute from the visual style drop-down menu, and the 3D view highlights objects with value-specific colors.
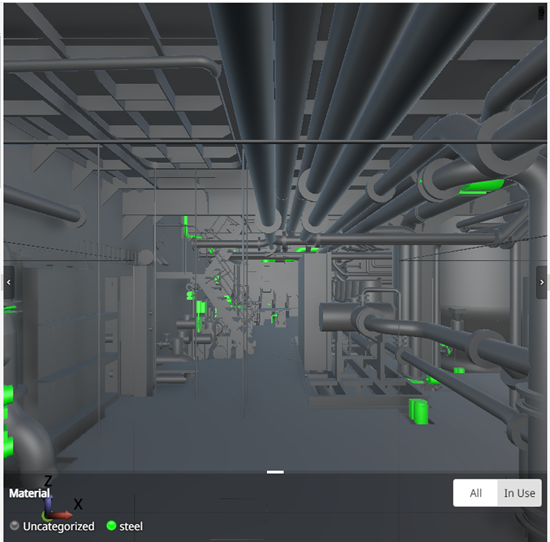
In this example, the user has selected the “MC” category from the visual style menu, and the 3D view highlights the relevant objects with appropriate colors:
-
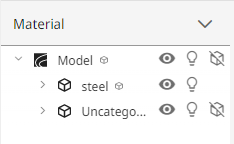
Hierarchy is enabled by default. When this setting is enabled, the user can select the attribute from the hierarchy drop-down menu, and the Model tree lists objects in attribute value specific nodes.
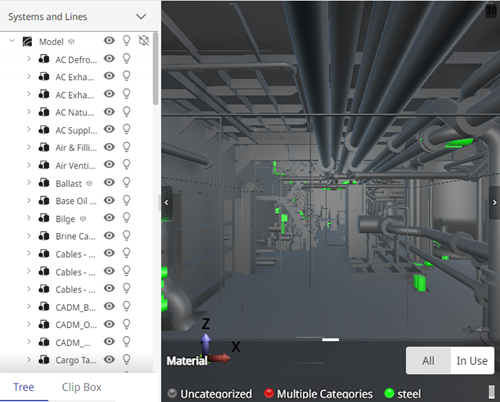
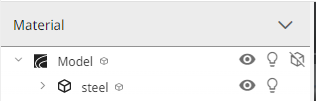
In this example, the user has selected “Material” from the hierarchy menu, and the Model tree is arranged according to this attribute's values:
-
Show to user is set to Listed categories by default. This specifies that only the categories that are defined in this view are displayed to the user in the hierarchy and visual style drop-down menus.
If you set this to All categories, the system will create a category for each value that is not defined in this view. Because these dynamic categories are created on-the-fly and not saved, the color that is assigned to them in visual style might change if the values change.
-
In the Allowed for User Groups section, select the Is Allowed check box of the user groups who should be allowed to see this category in the model viewer. (System administrators and project administrators will see it in any case.)
-
In the Categories section, the Case sensitivity setting specifies if the value column in the defined categories is expected to be case-sensitive when matching the values to the found values. Case sensitivity does not affect fields that use ranges or regexes (they are always case sensitive). For categorizations created in earlier releases, case sensitivity is disabled by default.
The Show to user setting defines if the user can see only listed categories or all categories.
-
The system displays the number of different values that are assigned to this attribute in the model. Click Refresh to see the different values (potential categories), and then specify their display settings as follows:
-
Value is the attribute value stored in the model; it can be displayed as a separate category in 3D view if the Hierarchy setting is enabled. There should be no need to edit this value; if you do edit it, objects that have the actual attribute value will be listed under “No Category”.
-
Display Value will be displayed to the user as the category name, and you can edit it if needed. You can also set the same display value to multiple attribute values, to list them in the same category.
-
If Visual Style is enabled, use the Color tool to pick an appropriate highlight color for objects that have this attribute value.
-
 – If you do not want a specific attribute value to have neither color-coding nor separate hierarchy, delete its row by clicking the delete button. You are prompted to confirm the action. Objects that have such ignored attribute values will be listed under “No Category”.
 -
Change the order of the values in the list by dragging them to the desired order.
-
-
Click Save.
Example
In this example, the Material attribute is given the category name "MC", the Visual Style and Hierarchy settings are enabled for this category, the user group "All Users" is allowed to see this category, and only four attribute values will be included: "copper", "st.", "galvanized steel", and "steel". Because Show to user is set to "Listed categories", the system will not generate dynamic categories for any other attribute values.
In the Model tab, if the user selects the Material hierarchy, the objects whose equipment type is either "st.", "galvanized steel", or "stainless steel" are listed in the "steel" category:
And if the user selects the Material visual style, the objects whose equipment type is "st.", "galvanized steel", or "stainless steel" are displayed in a single color: