Document hierarchies
Project administrator can define custom hierarchies for managed documents published by CADMATIC design applications and export and import document hierarchy configurations.
Defining a custom document hierarchy
You can define a custom document hierarchy that determines the kind of folder structure to use for documents published by another application, based on document attributes.
Prerequisites
- A design application has published documents to CADMATIC eShare, and those documents contain attributes.
Do the following:
-
Navigate to the project to edit, and then click Project Admin in the main menu. The project administration view opens.
-
Click Managed Documents. The Managed Documents Configuration view opens.
-
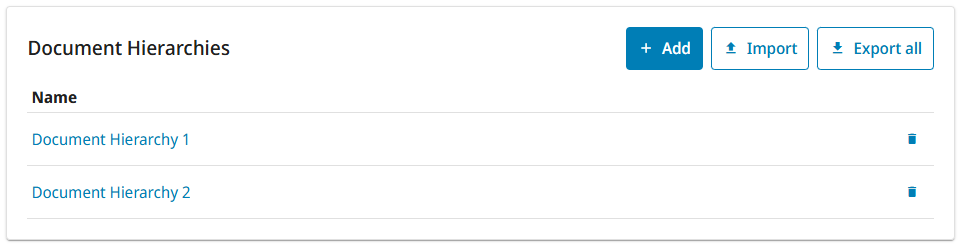
In the Document Hierarchies pane, click Add. The Document Hierarchy Settings view opens.
-
In the Name field, enter a descriptive name for the document hierarchy. This name will be visible to users in the Documents view.
-
Show documents from subfolders is disabled by default, and only documents stored in the root folder are displayed in the Documents view. Enable the setting if you want to display documents also from subfolders.
-
To add a folder level to the document hierarchy, click the Level 1 Attributes field and enter the folder attributes as a comma-separated list.
Each level in the hierarchy definition creates one folder level to the document tree.
For each attribute that is listed in the first level, each distinct attribute value will create a subfolder.
For each second-level attribute, each distinct attribute value will create a subfolder in the first-level folders. Example:
Level 1 Attributes: A
Level 2 Attributes: B, C
If documents have attribute A with values A1, A2, and A3, the first level of the folder structure will have three folders: A1, A2, A3. Then, if the A1 folder contains documents that have attributes B and C with values B1, B2, and C1, folder A1 will have subfolders B1, B2, and C1. -
To add another level, click Add New and specify the required attributes in the same way that you did in the previous step.
-
Click Save.
Related Actions
-
You can remove a document hierarchy from the Document Hierarchies list by clicking the Delete button
 .
. -
You can reorganize the hierachy levels by dragging them. The levels will be updated automatically.
-
You can customize an existing document hierarchy by clicking the name of the document hierarchy in Administration > Managed Documents > Document Hierarchies.
Exporting and importing document hierarchies
You can export and import document hierarchy settings in text format. You can use this to copy settings from one project to another.
Do the following:
- Navigate to the project to edit, and then click Project Admin in the main menu. The project administration view opens.
- Click Managed Documents. The Managed Documents Configuration view opens.
- To export document hierarchy settings, click Export All, and then copy the settings from the Export Document Hierarchies text box.
- To import document hierarchy settings, click Import, paste the required settings into the Import Document Hierarchies text box, and then click Import.