User activation and deactivation
System administrator can activate and deactivate users to specify whether they are allowed to access CADMATIC eShare.
Activating a user
System administrator can activate a user whose account either the system or a system administrator has deactivated. An activated user consumes a user license, either immediately or at the latest when the user signs in to the system.
Prerequisites
- You are a system administrator.
Do the following:
-
Click System Admin in the main menu. The system administration view opens.
-
Click Users. The User management view opens.
-
On the list of users, you can click Activate to immediately activate the user account.
But, if you want to review or edit user settings before the activation, perform the remaining steps.
-
Click the name of the user to edit. The User Details view opens.
-
Click Edit.
-
Set Deactivated to No, and change any other settings if appropriate.
-
Click Save.
Results
The user account is activated, and the user can sign in to the system.
Deactivating a user
User deactivation prevents the user from signing in to CADMATIC eShare. It does not delete the user account or remove the user from the user list of any project that the user has been assigned to, and deactivated users can still be added to projects.
Deactivation can occur automatically if the system detects that there are not enough licenses for all users. System administrators can deactivate users manually if there is a need to release licenses or prevent access to the system. You cannot deactivate your own user account.
Deactivation is immediate. Users who are signed in when they become deactivated are informed that due to deactivation they can no longer use eShare. Database transactions that were initiated before the deactivation occurred are completed, but any unsaved data that the user might have entered in the user interface is lost.
Prerequisites
- You are a system administrator.
Do the following:
-
Click System Admin in the main menu. The system administration view opens.
-
Click Users. The User management view opens.
-
On the list of users, click the edit button
 for the user to edit. The Edit user details view opens.
 -
Set Deactivated to Yes. The Deactivation Reason field is displayed.
-
Optionally, enter a comment about why the user is deactivated. This comment will not be visible to the deactivated user.
-
Click Save.
Results
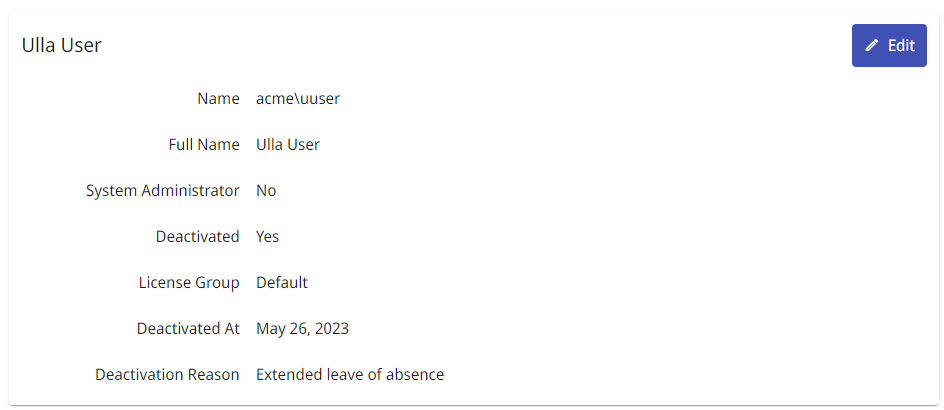
The specified user is deactivated. The User Details view displays the time of deactivation and the deactivation reason if you entered one.