Adding 2D-items to Hull 2D library database
These are instructions for adding 2D-items to the Hull 2D library database.
Place Symbols > More Options > Symbol Maintenance
-
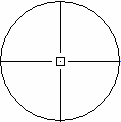
Draw the 2D symbol you want to use.
-
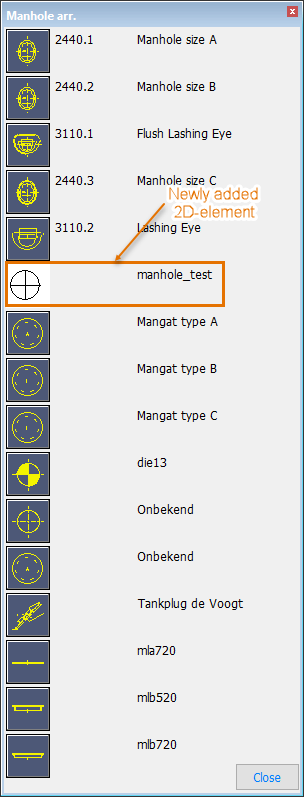
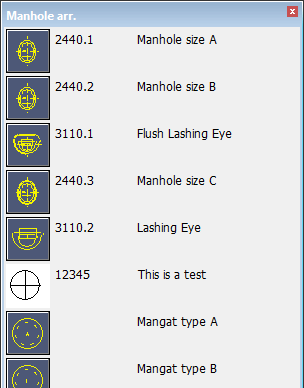
Click the icon in which group you want to add the 2D symbol. In this example, the Manhole arr. toolbar icon.
-
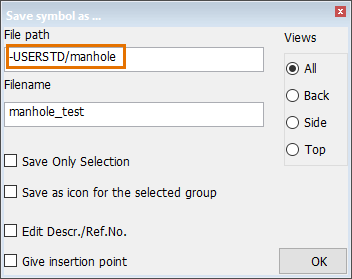
Select Place Symbols > More Options > Symbol Maintenance > Save symbol as.
-
Fill in the file name for the new symbol.
The file path has been automatically chosen earlier when clicking the Manhole arr. toolbar icon. The file path, thus also the group in which this is placed, can be modified in the dialog if necessary.
-
Click OK and the symbol is saved to the library.
It can be accessed through the menu of the group it was saved to. The 2D symbol can now be chosen and placed in any view.
-
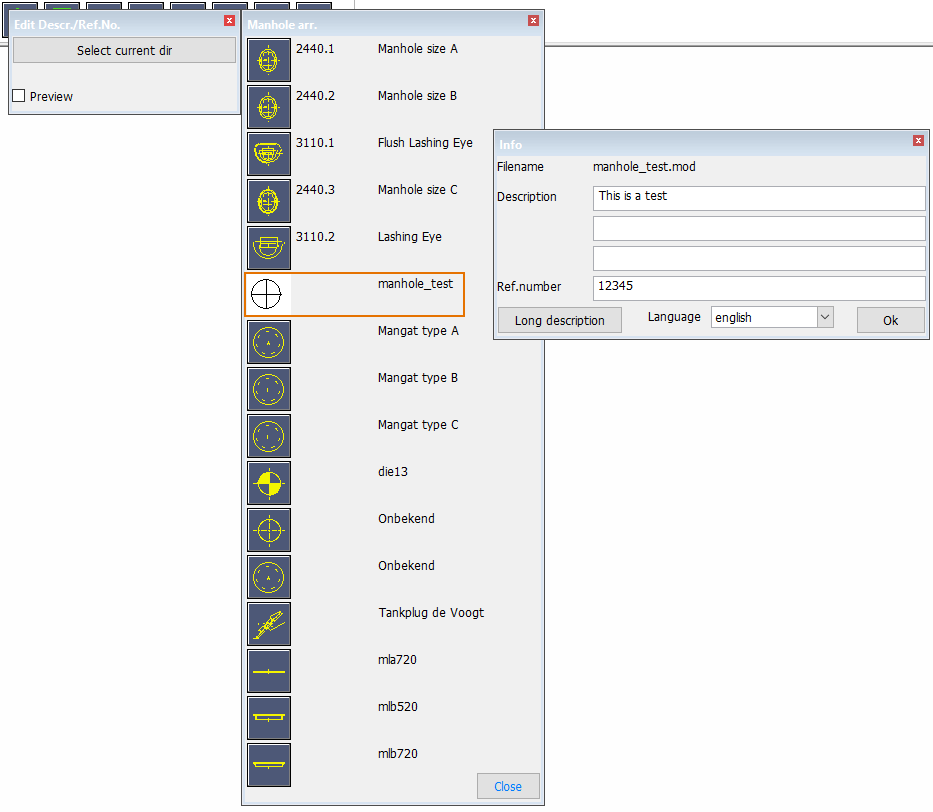
Select Place Symbols > More Options > Symbol Maintenance > Edit Descr./Ref.No. to add a description and/or a reference for the newly created symbol.
-
Click on the symbol and the Info dialog opens.
When clicking on Select current dir you can change the description of the directory you are in. In this case you will change the manhole description.
-
Add a description and/or a reference number for the symbol and click OK.
The description and the reference number will now be visible in the Plantek directory.