Attach Part
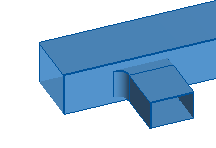
You can use the Attach Part tools to add a duct part to the side of a straight duct. The attached part can be a straight duct, a component model or a shape. This can be used, for example, for the following:
-
To insert a rectangular, straight duct piece from which routing can be continued with Ducting > Route.
-
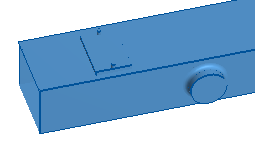
To insert a circular branch component from which routing can be continued with Piping > Route.
-
To insert a rectangular shape to create a rectangular outlet.
-
To insert an inspection hatch, possibly with a service space.
If the attached component defines a service space to be included, the service space is automatically added to the model.
There are separate commands for attaching the duct part either with or without a position ID.
After the operation, you can slide an onto-line part along the air duct with the Move command on the Home tab. If you move the air duct itself, the onto-line parts are moved accordingly. Also, if you resize the air duct with the Size command on the Ducting tab, the onto-line parts are resized accordingly, if possible.
Do the following:
-
Select the Ducting tab > Duct parts group, and then one of the following:
-
Attach Part > Attach part
-
Attach Part > Attach part without position ID
-
-
Move the cursor to the required location on the side of the duct where you want to attach the part, and click or press Space to accept that location. The nearest duct part is highlighted, and the side closest to the cursor is selected as the target side.
-
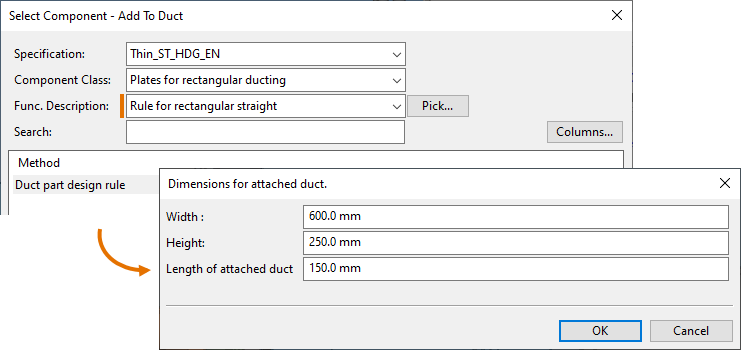
Press Enter to accept. The Select Component – Add To Duct dialog opens.
-
Select the specification, component class, functional description, and size or range to use. In the Joint entered first field, select which joint (connection point) of the component to use as the starting point. This effectively defines the orientation of the component in the model, but you can also correct the orientation afterward, if needed.
Note: To attach a straight rectangular duct, you must select the component class "Plates for rectangular ducting" and functional description "Rule for rectangular straight". In this case, you do not select the size of the attached part in this dialog: after clicking OK, you are prompted to define the dimensions manually.
-
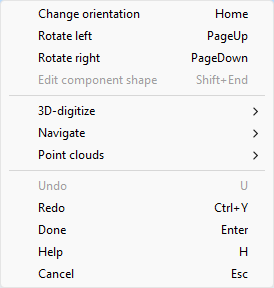
You can now adjust the orientation of the part: right-click the work view and select the required command from the Ducting context menu. Then press Enter to continue.
-
If the part uses instance parameters, the Edit Instance Parameters dialog opens for setting the values. See Instance Parameters for details.
-
If attaching a part with position ID, you are prompted for the ID to use.
-
You can continue attaching more parts in the same way or press Esc to exit the tool.