Place labels automatically
CADMATIC allows you to run automatic labeling for drawing views. You can take this functionality into use as described below.
Define labeling space
Automatic labeling requires you to define the labeling space around views in drawings—that is, how far from the sides of a view can labels be placed.
Do the following:
-
Select File > Options > Shared Settings > Documents > General Drawing.
-
In the Default space for labels around view field, enter the value to use.
-
Click OK.
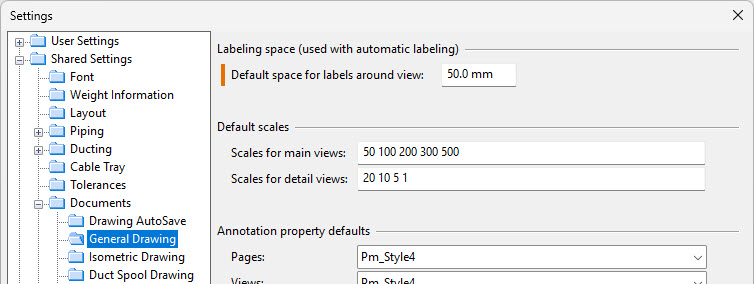
When you are working with a drawing and the window shows the composition of the active page, the labeling space is shown as a yellow dashed rectangle around the view. You can change the labeling space in the Automatic Labeling dialog, as described in Automatic Labeling.
Define labeling styles
Labeling styles define the visual appearance of new labels that are placed in the views either automatically or manually. You can still change the visual properties of the labels after the placement if needed.
Do the following:
-
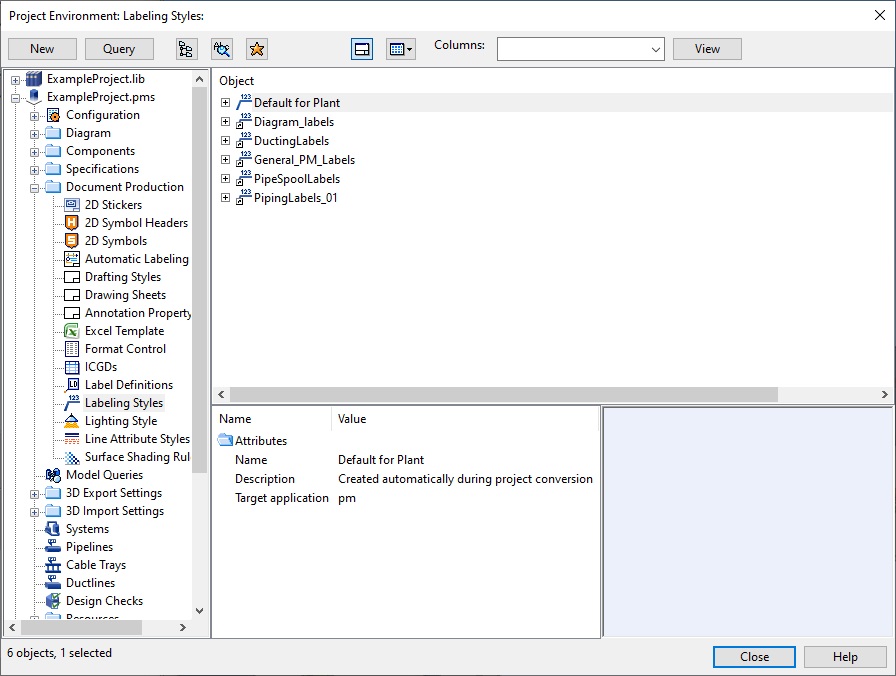
Select File > Environment > All Library and Project > Document Production > Labeling Styles.
Labeling styles can exist in the library as well as in the project database.
When you run Object > Upgrade Project Environment from the CADMATIC desktop, a default labeling style is automatically created to the project database.
Note: Labeling style defined in the library cannot refer to a label definition defined in the project.
For more details, see Labeling Styles.
Define settings for automatic labeling
Automatic labeling settings specify which label definitions can be automatically placed and which labeling style is used to provide the visual properties for these labels.
Do the following:
-
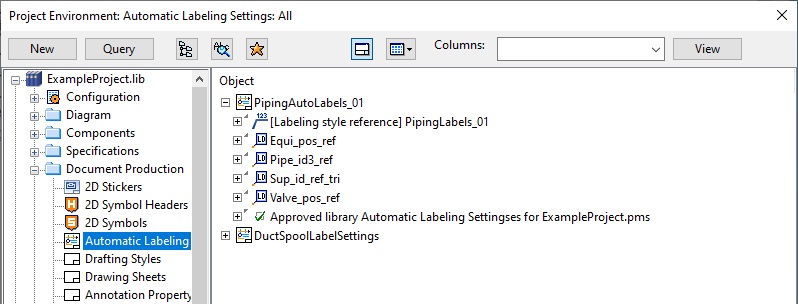
Select File > Environment > All Library and Project > Document Production > Automatic Labeling Settings.
Automatic labeling settings can exist in the library as well as in the project database.
The object browser view shows which label definitions and labeling style are used in a given setting.
For more details, see Automatic Labeling Settings.
Perform automatic labeling
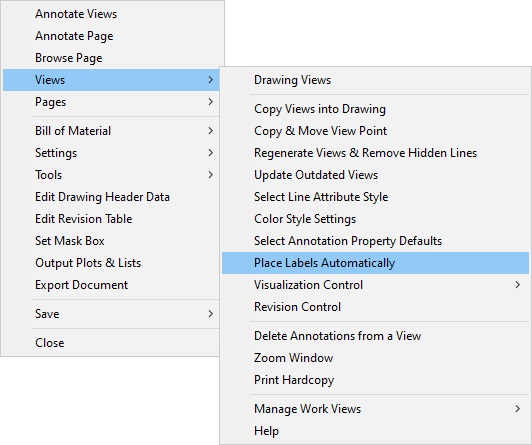
When editing a drawing, you can launch automatic labeling from the context menu.
Do the following:
-
Select Views > Place Labels Automatically.
-
Follow the instructions in the Automatic Labeling dialog.
For more details, see Performing automatic labeling.