Tools
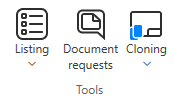
On the Documents tab, the Tools group includes the following tools.
Listing

On the Documents tab, the Listing menu includes tools for generating and comparing listings.
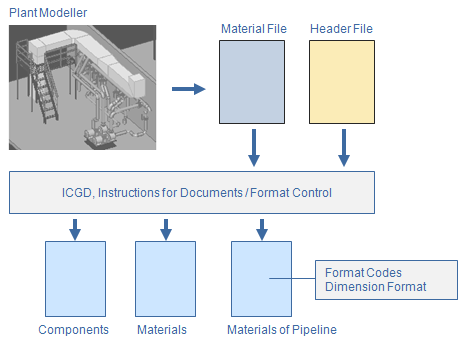
- The ICGD selects attributes from the Material File and common information from the Header File, and collects the data into the file defined in the ICGD.
- The ICGD also defines how to format numerical values using Format Codes and Dimension Format.
- The Excel Template or Format Control file defines the appearance of the listing.
Listing…
You can generate a list of components, materials, or pipeline materials from the 3D model.
Prerequisites
- The project administrator has created ICGDs that define the information to include in listings, and Excel Template or Format Control files define their appearance.
Do the following:
-
Select Documents tab > Listings group > Listing and then the type of listing to generate:
-
Components – Select this to generate a list of objects and their locations. Typically, this is used for equipment lists.
-
Materials – Select this to generate a material list that does not include location information.
-
Materials of a pipeline – Select this to generate a material list for a single pipeline.
-
-
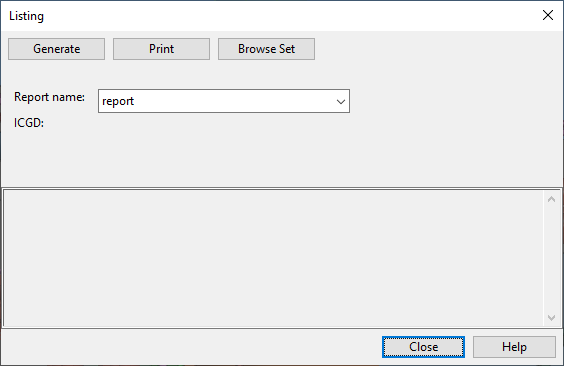
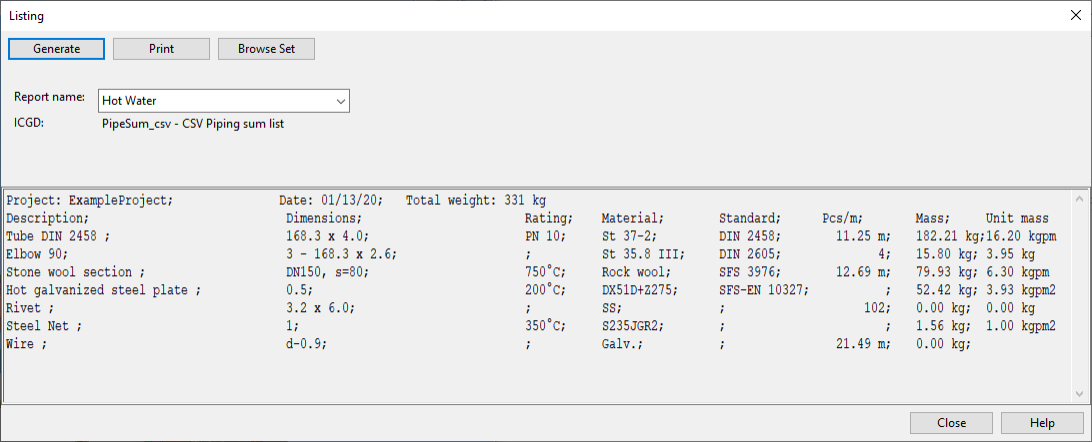
The Listing dialog shows the last generated listing, or a blank report if nothing has been generated previously. Click Generate.
-
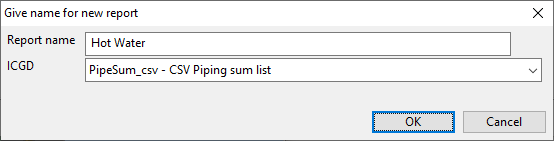
In the Give name for new report dialog, enter the following information:
-
Report name – Enter a name for the listing to be generated.
-
If you select a previously generated listing, the new listing will overwrite the existing file.
-
If you leave the field blank, the listing will use the name "tmplst".
-
-
ICGD – Select the ICGD to use. (The list is not available if there are no applicable ICGDs in the project.)
-
Click OK.
-
-
You are prompted to define what to include in the listing.
- If creating a listing for components or materials, the Listing dialog is temporarily hidden and you can select the components to be listed from the model.
- If creating a material listing for a pipeline, the Select Pipeline dialog opens for selecting the system and pipeline. Click OK to accept.
The material file (<report name>.m) is created or updated, and you are prompted to define the header information.
-
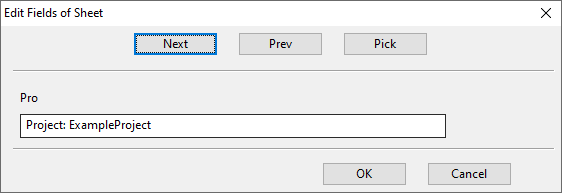
In the Edit Fields of Sheet dialog, enter the information to display for each header field in the report.
When there are no more fields to define, clicking OK or Next creates the header file (<report name>.h), generates and saves the report (using the file name extension and the printer spool path name defined in the ICGD), and the report is shown in the Listing dialog.
Note: The listing files, together with their header and material files, can be found from <project>.pms/<user>.wsp/<area>.pm/docu.
-
To print the current listing, click Print.
-
To browse the objects included in the current listing, click Browse Set. A separate view opens showing the objects in the set. Press Esc to return to the Listing dialog.
-
To stop generating listings, click Close.
Compare listings
You can create a material listing that shows the differences between two material listings.
Prerequisites
-
Existing material listings created using the same ICGD.
-
The project contains an ICGD that defines the information to include in the comparison listing.
Do the following:
-
Select Documents tab > Listings group > Compare Listings.
-
In the Select first listing dialog, click the first listing to compare.
-
In the Select second listing dialog, click the second listing to compare.
-
In the Give name for new report dialog, enter the report name, select the ICGD for the report, and click OK.
The comparison is saved in <project>.pms/<user>.wsp/<area>.pm/docu.
-
If the comparison listing is text-based, you can open it with the Listing… tool.
Document requests

You can manage document requests sent from CADMATIC Wave.
Prerequisites
-
Project administrator has enabled Wave.
Do the following:
-
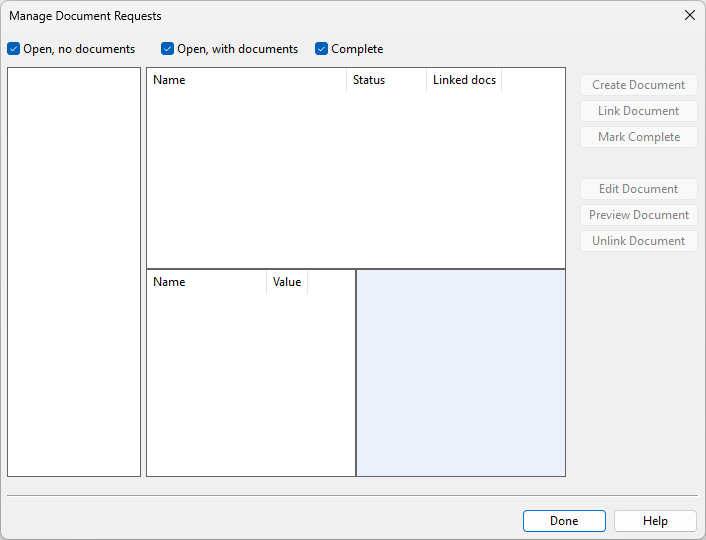
Select Documents tab > Tools group > Document Requests.
-
In the Manage Document Requests dialog, define the required settings, and click Done.
Cloning

On the Documents tab, in the Tools group, the Cloning menu includes the following tools.
Extract rebuild instructions | Clone drawings
Extract rebuild instructions
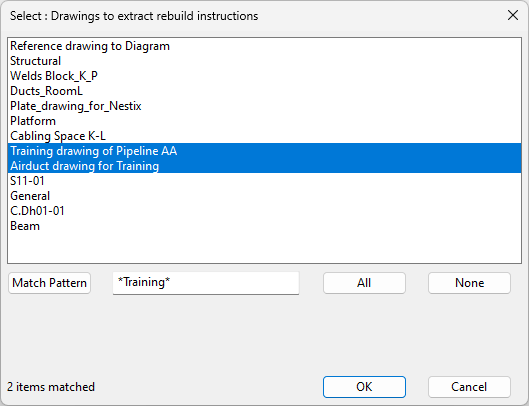
This tool extracts rebuild instructions from selected documents and stores the data in a text file.
Do the following:
-
Select Documents tab > Tools group > Cloning > Extract rebuild instructions. The Select: Drawings to extract rebuild instructions dialog opens.
-
Select the documents from which to extract the data and click OK.
You can now use the Clone drawings tool to create new documents from the extracted data.
Clone drawings
This tool uses extracted rebuild instructions to create a new instance of an existing document. After running the tool, the cloned documents are checked out to you.
Do the following:
-
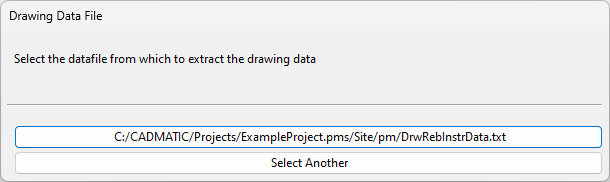
Select Documents tab > Tools group > Cloning > Clone drawings. The Drawing Data File dialog opens.
-
Select the data file. The Select: Drawings to clone dialog opens.
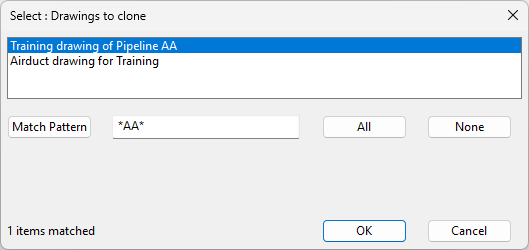
-
Select the drawings to be cloned and click OK. The Visualization Options dialog opens.
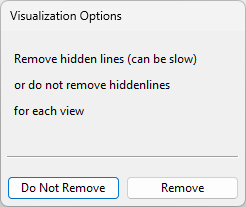
-
Select whether to remove hidden lines from the drawings by clicking either Do Not Remove or Remove, as appropriate.
-
On the Documents tab, click Drawings to check in or otherwise manage the new documents.