Views
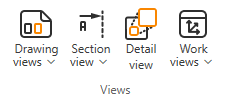
On the Home tab of the document editor, the Views group contains tools for managing drawing views (including section views and detail views) and Plant Modeller work views.
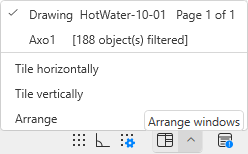
You can navigate between the open view windows by pressing Tab. You can switch to a specific view window from the Arrange windows menu in the status bar.
For information on navigation within drawing views, see Navigation in drawing views.
In drawing views, the edges and centerlines of the objects are drawn using Line Attribute Styles, whereas in work views lines are drawn using line attributes (see Change line attributes).
Drawing views

You can add, move, remove, and rescale drawing views.
Drawing views | Move | Remove from page | Set scale
Drawing views
Select Home tab > Views group > Drawing views > Drawing views to open the Drawing Views dialog, where you can create drawing views, manage their properties, and insert them to the pages of the open document.
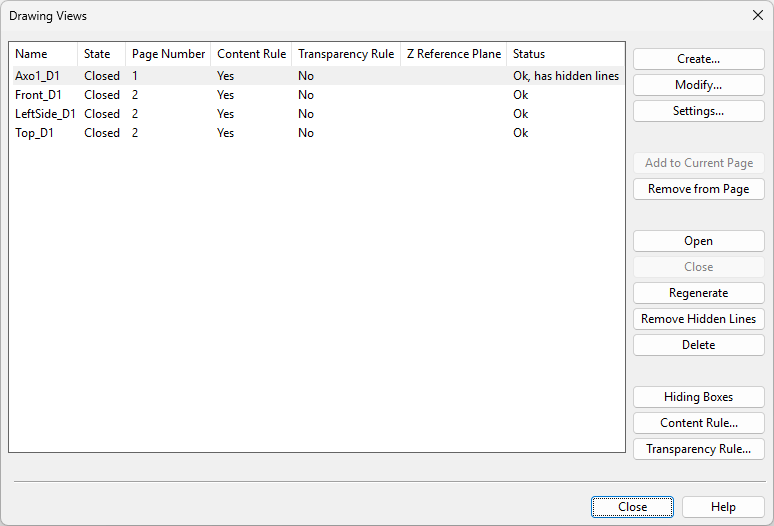
For more details, see Drawing Views.
Note: For information on how to create fill rate views for cable segments, see Create cable fill rate view into drawing.
Move
You can move a drawing view within the active page.
Do the following:
-
Select Home tab > Views group > Drawing views > Move.
-
If there is more than one drawing view on the active page, click the drawing view to move.
-
Move the drawing view, and click to confirm the new location.
-
Press Enter if you want to move another drawing view.
Remove from page
You can remove drawing views from the active page.
Do the following:
-
Select Home tab > Views group > Drawing views > Remove from page.
-
If there is more than one drawing view on the active page, click the ones you want to remove, then press Enter.
-
Press Enter if you want to remove more drawing views.
Tip: You can use the Drawing Views dialog to remove drawing views from any page.
Set scale
You can change the scale of a drawing view on the active page.
Note: This does not update the scale value stored in the document header's 'Drawing Main Scale' (.IR) or 'Drawing Detail Scale' (.IS) attribute.
Do the following:
-
Select Home tab > Views group > Drawing views > Set scale.
-
If there is more than one drawing view on the active page, click the one to change.
-
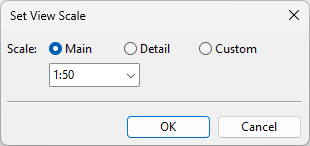
In the Set View Scale dialog, specify the new scale:
-
Main / Detail – Select a scale that the administrator has defined in the General Drawing settings.
-
Custom – Specify the scale value. (This is the only option if the other scales are not applicable to the document type.)
-
-
Click OK.
-
Press Enter if you want to change the scale of another drawing view.
Section view

You can insert section markers with section views.
Create section | Delete section marker
Create section
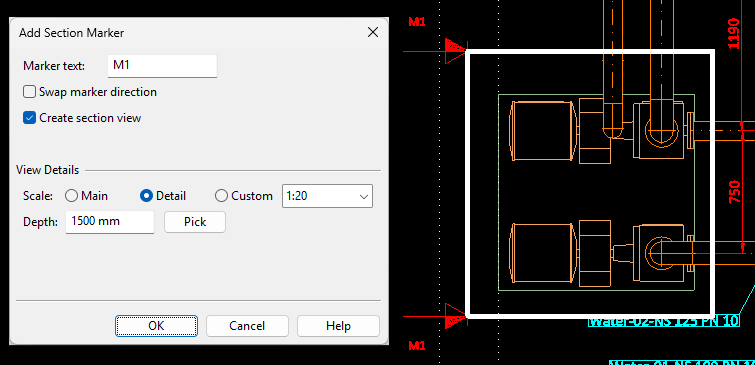
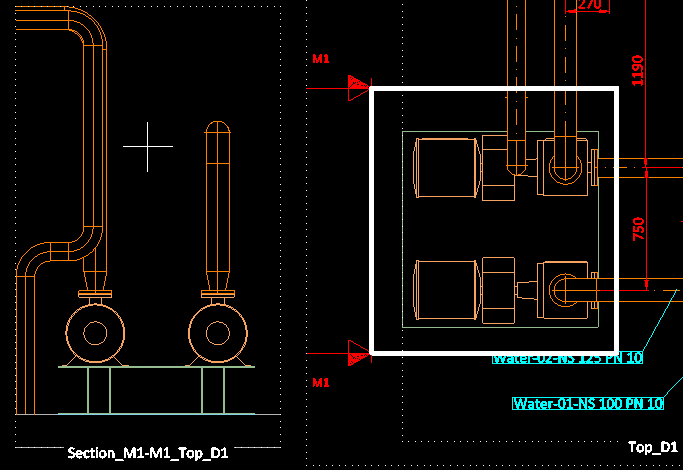
You can create a section view by adding a section marker to a drawing view. Section views are named using the pattern 'Section_<A>-<A>_<B>' where <A> is the marker text and <B> is the name of the drawing view. For example, if the marker text is 'M1' and the drawing view is 'Top_D1', then the section view is 'Section_M1-M1_Top_D1'.
Prerequisites
-
The active page contains a top view (view direction +Z), bottom view (view direction -Z), or side view (view up direction +Z).
Do the following:
-
Select Home tab > Views group > Section view > Create section.
-
If there is more than one compatible drawing view on the active page, click the one to use.
-
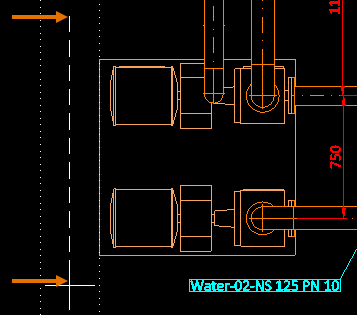
Draw the section line by picking the start point and the end point from the drawing view.
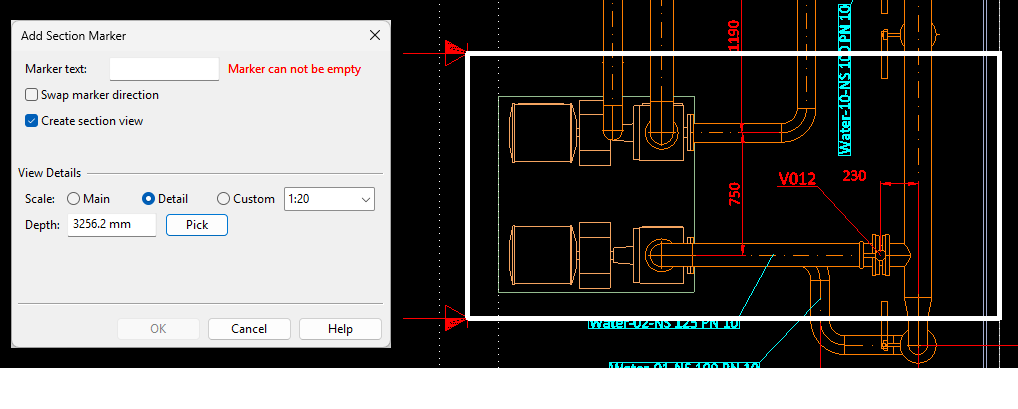
The default boundaries of the section box appear in the drawing view and the Add Section Marker dialog opens.
-
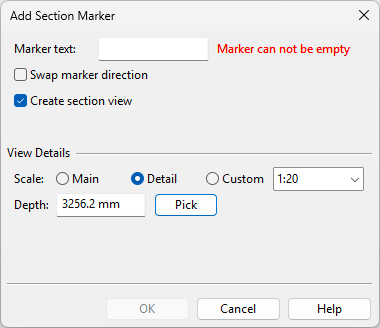
In the Add Section Marker dialog, specify these settings:
-
Marker text – Enter the text to display in the section marker.
-
Swap marker direction – Select this if the section should be facing the opposite direction.
-
Create section view – This is selected by default. Clear the option to not create a section view.
View Details
-
Scale – Define the scale of the section view: select Main, Detail or Custom and then select or type the scaling value.
-
Depth – The default depth of the section view is the same as the depth of the drawing view. You can change the depth of the section view by typing the required value or by using the Pick tool.
Then click OK.
-
-
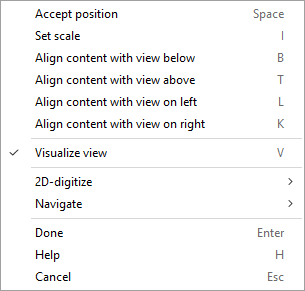
Move the section view to the intended position on the page. You can use the context-menu commands to align the content with another drawing view or to change the scale.
-
Press Enter or click to complete the insertion.
-
Press Enter to insert another section marker.
Delete section marker
You can delete section markers.
Note: Deleting a section marker does not delete the associated section view. If you want to also delete the section view, you can do it in the Drawing Views dialog.
Do the following:
-
Select Home tab > Views group > Section view > Delete section marker.
-
If there is more than one compatible drawing view on the active page, click the one to use. A list of section markers opens.
-
In the Select SectionMarker dialog, click the name of the section marker to delete.
-
Press Enter to delete another section marker.
Detail view

You can create a detail view that displays a selected area of an existing drawing view. This action copies all properties of the main view to the detail view, including content rules, transparency rules, and hidden line status. Annotations, however, are not copied.
When you create a detail view, a rectangle with a dashed line—using the current Line Properties—is added to the main view to indicate the area shown in the detail view. The detail view name is placed above the rectangle.
Detail views are not regenerated automatically. If the main view changes, its detail views must be regenerated manually. If you delete the detail view, you must manually remove both the rectangle and the view name from the main view.
Do the following:
-
Select Home tab > Views group > Detail view.
-
If there is more than one drawing view on the active page, click the one to use as the main view.
-
Define the view limits by picking two corner points from the main view.
-
In the Detail View dialog, specify the following settings:
-
Detail view name – Enter a name for the detail view.
-
Scale – Specify a scale for the detail view.
-
Show view name as annotation – Select this option to add an annotation that adds the name and scale below the detail view, like the separate Add view name annotation command does.
Then click OK.
-
-
Move the detail view to the intended position, and press Enter or click to confirm the placement.
-
Press Enter to create another detail view.

Work views

You can use the document editor to manage Plant Modeller work views.
Work views | Update and remove hidden lines from all views
Work views
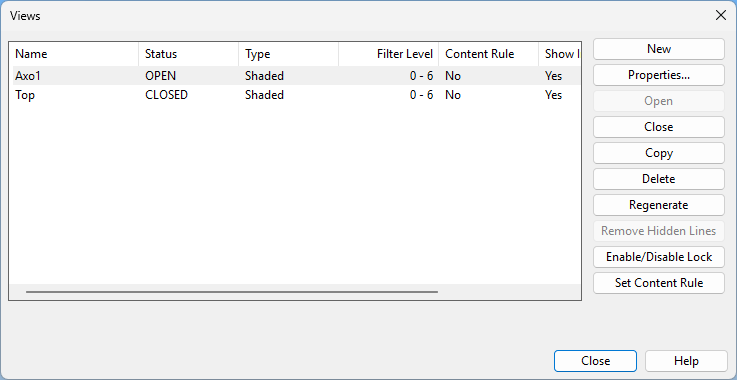
Select Home tab > Views group > Work views > Work views to open the Views dialog, where you can create and manage Plant Modeller work views.
Select an open work view from the list to display the view in the application window.
For more details on managing work views, see Manage views.
Update and remove hidden lines from all views
Select Home tab > Views group > Work views > Update and remove hidden lines from all views to update all work views and remove hidden lines from them.