Icons
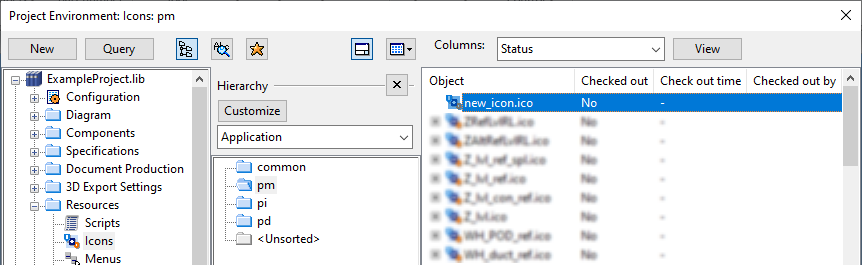
In the Project Environment dialog, in the Resources > Icons section of the library or project, the administrator can define custom icons for CADMATIC Plant/Outfitting applications.
Creating icons
You can create custom icons. If you create the icons in the library, you must specifically approve them for projects.
Note: The preview image of the new icon might not appear until you start/restart Plant Modeller.
Prerequisites
-
If you want to use a specific image editor for the icon file, make sure that your Microsoft Windows environment is configured to open the given file type (.ico, .bmp or .png) in that application by default.
Do the following:
-
In the CADMATIC desktop, select Object > Library and Project Databases. The Project Environment dialog opens.
-
Browse to [library or project] > Resources > Icons.
-
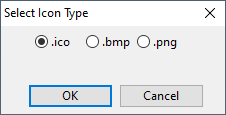
Select New > Icon. The Select Icon Type dialog opens.
-
Select the file type of the icon and click OK. The Edit Object Attributes dialog opens.
-
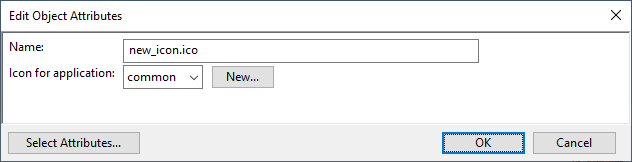
Define the object attributes for the icon:
-
Name – Enter a descriptive name for the label.
-
Icon for application – Select the application where the icon is to be used: "common" (available to all applications), "pm" (Plant Modeller), "pi" (Piping Isometrics & Spools) or "pd" (P&ID).
Then, click OK. The new icon is stored in the appropriate hierarchy.
-
-
Right-click the new icon and select Edit to open the icon in the image editor application associated with the file type.
Note: At this point, the file is automatically checked out from COS to <project>.pms\Site\cos_edit_sources and gets a temporary name.
-
The icon's default size is 64 x 64 pixels and the color palette depends on the file type. Design the icon image and save the image over the existing file. If the image contains transparency, make sure you save it in a format that preserves the alpha channel.
-
Check in the icon.

You can now assign the icon to a label as described in Label definition settings.