Using the Support Designer with LISEGA LICAD
You can use the Support Designer to create pipe supports such as hangers and clamp bases that are compatible with the LISEGA LICAD® software. You must have a working, registered LISEGA LICAD installation. For information on setting up the integration in CADMATIC, see LISEGA LICAD supports.
Editing the attributes of LISEGA supports
You can use the Support Designer to edit the attribute values of an existing LISEGA support.
Prerequisites
-
Pipe support that has been created as described in Creating LISEGA supports or Creating LISEGA supports by import from L3D.
Do the following:
- Select Piping tab > Support group > Support > Pipe supports. The Pipe Supports dialog opens.
-
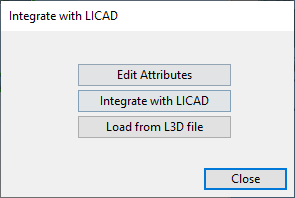
Select the support to be edited and click LICAD. The Integrate with LICAD dialog opens.
-
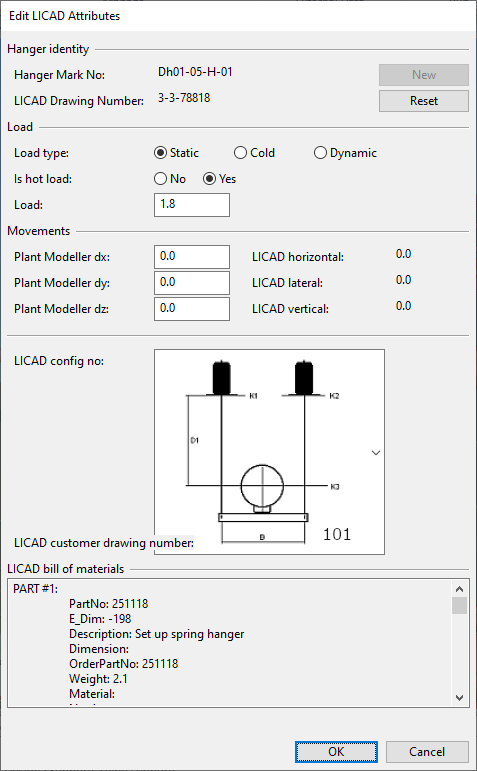
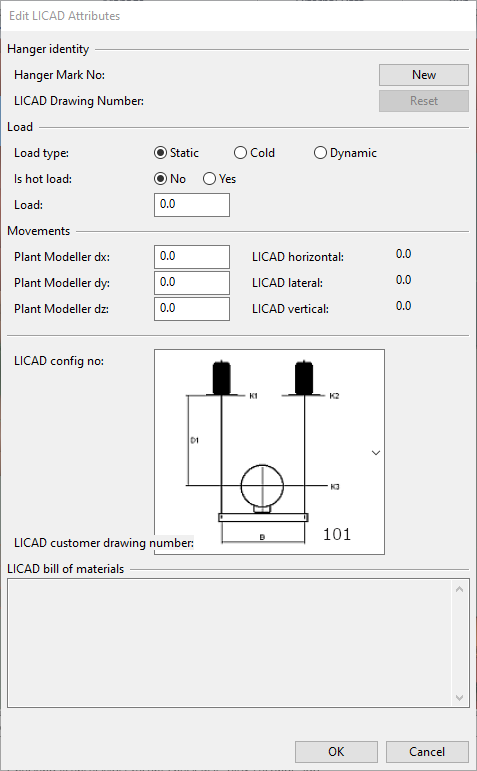
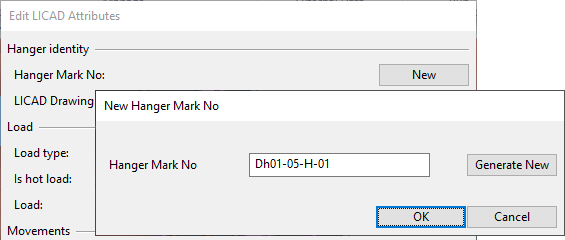
Click Edit Attributes. The Edit LICAD Attributes dialog opens.
-
Edit the attribute values as required and click OK.
-
If you are prompted that the data changes require the embedded LISEGA model to be removed, use the Integrate with LICAD command to run the integration and rebuild the embedded model.
Creating LISEGA supports
You can use the Support Designer to create supports that are compatible with the LISEGA LICAD software.
Prerequisites
-
Integration has been set up as described in LISEGA LICAD supports.
-
A location plan that covers the area where the support is to be added.
Do the following:
-
Select Piping tab > Support group > Support > Location plans. The Support Designer: Location Plans dialog opens.
-
Select the location plan where you want the support to be added and then click the pipe support button
 . The Pipe Supports dialog opens.
 -
Create the support group:
 Show/hide details
-
Click New. The New Pipe Support dialog opens.
-
Enter the support information:
-
Support Name – Enter a unique name for the support.
-
Support Type – Select Standard Support.
-
-
Click OK.
-
-
Create a Standard Component that functions as a LICAD template object:
Show/hide details
-
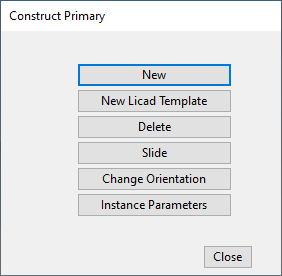
In the Primary section, click Construct. The Construct Primary dialog opens.
-
Click New Licad Template. The 3D model opens.
-
Hold down Shift, click the straight pipe where the support is to be added, and press Enter to accept the pipe.
-
Select the origin point of the support plane.
-
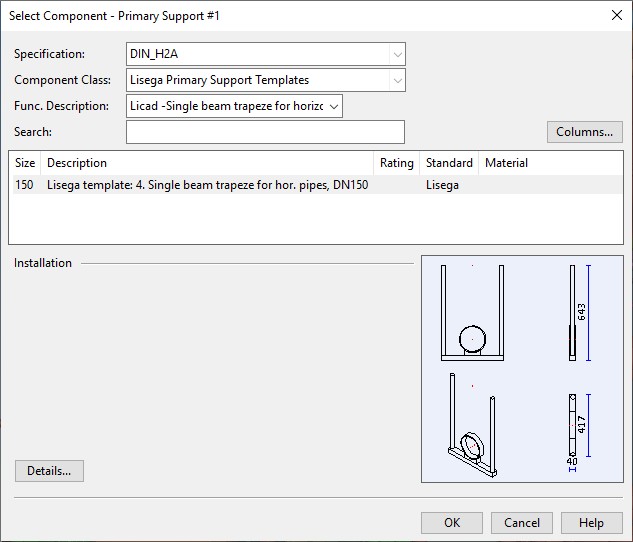
Select the direction of the normal vector of the support plane. The Select Component dialog opens.
-
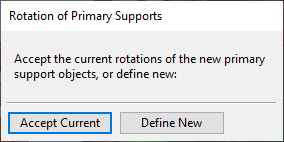
Select the appropriate support template and click OK. The Rotation of Primary Supports dialog opens.
-
Click Accept Current if the current rotation is acceptable. Otherwise, click Define New and rotate the support as required.
-
The LICAD template object is now ready. Close the Construct Primary dialog.
-
-
Create the LICAD configuration:
Show/hide details
-
In the Primary section, click LICAD. The Integrate with LICAD dialog opens.
-
Click Integrate with LICAD.
-
Select the template object from the 3D model and press Enter. The Edit LICAD Attributes dialog opens.
-
In the Hanger identity section, click New, type or generate the hanger mark number, and click OK.
-
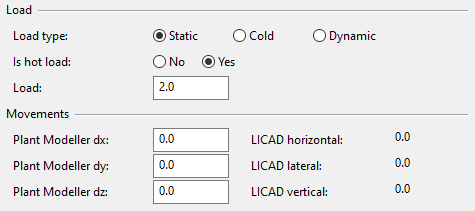
Set the Load and Movements attribute values as required.
-
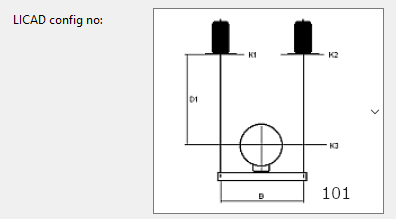
Select the LICAD configuration.
-
Click OK. The LICAD software opens.
-
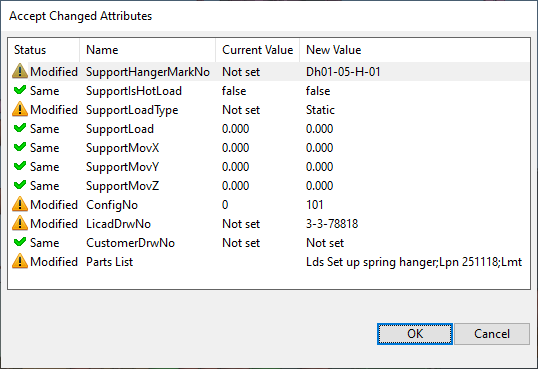
You can make changes to the configuration if needed. Then click
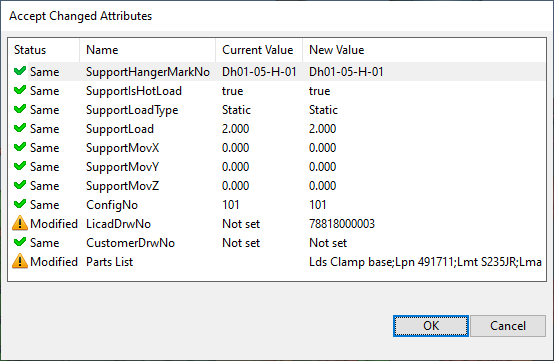
 . The Accept Changed Attributes dialog opens.
 -
Review the information and click OK.
-
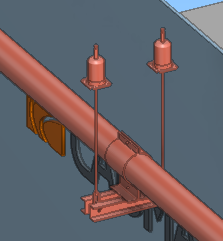
-
The LISEGA support is now ready and displayed in the 3D model. Close the Integrate with LICAD dialog.
-
You can adjust the support in the 3D model by clicking Construct in the Primary section and selecting the appropriate tool: Slide, Change Orientation, or Instance Parameters. Then close the Construct Primary dialog.
-
You can edit the LICAD attributes of the support by clicking LICAD in the Primary section and then Edit Attributes. See Editing the attributes of LISEGA supports.
Creating LISEGA supports by import from L3D
You can export the LICAD configuration of a LISEGA support to a L3D file and import the configuration to other instances of the same kind of support. However, we recommend that you create all LISEGA supports as described in Creating LISEGA supports.
Prerequisites
-
Integration has been set up as described in LISEGA LICAD supports.
-
A location plan that covers the area where the support is to be added.
-
L3D file exported from LICAD. This file contains the LICAD configuration of the support.
-
ASCII file exported from LICAD. This file contains the Bill of Materials of the support.
Do the following:
-
Select Piping tab > Support group > Support > Location plans. The Support Designer: Location Plans dialog opens.
-
Select the location plan where you want the support to be added and then click the pipe support button
. The Pipe Supports dialog opens. -
Create the support group:
Show/hide details
-
Click New. The New Pipe Support dialog opens.
-
Enter the support information:
-
Support Name – Enter a unique name for the support.
-
Support Type – Select Standard Support.
-
-
Click OK.
-
-
Create a Standard Component that functions as a LICAD template object:
Show/hide details
-
In the Primary section, click Construct. The Construct Primary dialog opens.
-
Click New Licad Template. The 3D model opens.
-
Hold down Shift, click the straight pipe where the support is to be added, and press Enter to accept the pipe.
-
Select the origin point of the support plane.
-
Select the direction of the normal vector of the support plane. The Select Component dialog opens.
-
Select the appropriate support template and click OK. The Rotation of Primary Supports dialog opens.
-
Click Accept Current if the current rotation is acceptable. Otherwise, click Define New and rotate the support as required.
-
The LICAD template object is now ready. Close the Construct Primary dialog.
-
-
Import the LICAD configuration:
Show/hide details
-
In the Primary section, click LICAD. The Integrate with LICAD dialog opens.
-
Click Load from L3D file.
-
Select the template object from the 3D model and press Enter. The Select L3D file dialog opens.
-
Select the L3D file and click Open. The Select Licad ASCII file dialog opens.
-
Select the ASCII file and click Open. The Accept Changed Attributes dialog opens.
-
Review the information and click OK.
-
-
The LISEGA support is now ready and displayed in the 3D model. Close the Integrate with LICAD dialog.
-
You can adjust the support in the 3D model by clicking Construct in the Primary section and selecting the appropriate tool: Slide, Change Orientation, or Instance Parameters. Then close the Construct Primary dialog.
-
You can edit the LICAD attributes of the support by clicking LICAD in the Primary section and then Edit Attributes. See Editing the attributes of LISEGA supports.