View and edit with the selection list
Do the following:
-
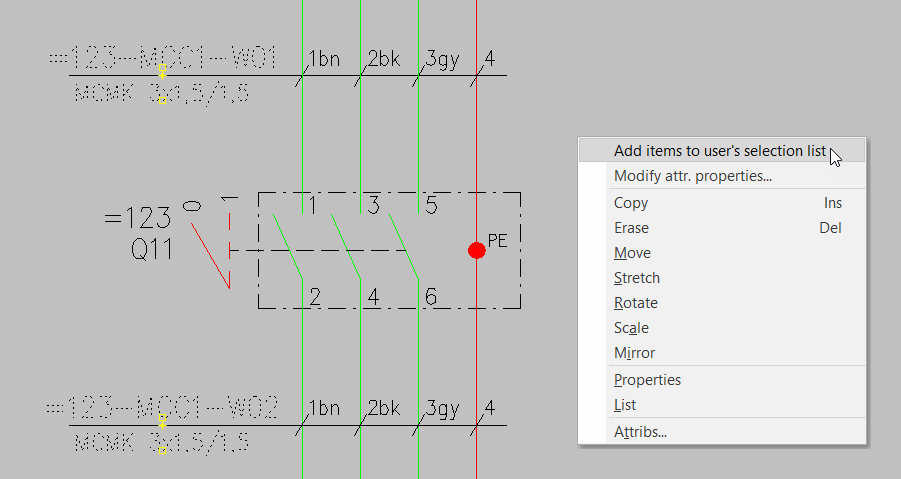
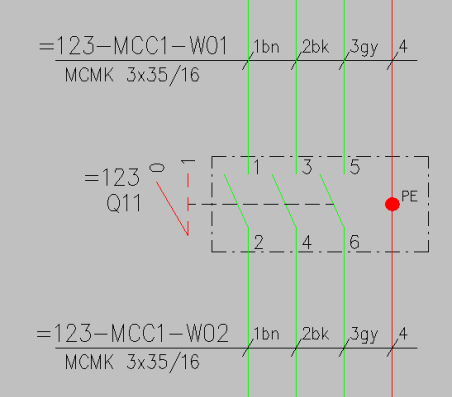
In the drawing, select the cable markings =123-MCC1-W01 and =123-MCC1-W02 by clicking the cable marking symbols.
-
Right-click, and select Add items to user’s selection list.
-
Go back to the database tool, and select Home > Refresh.
-
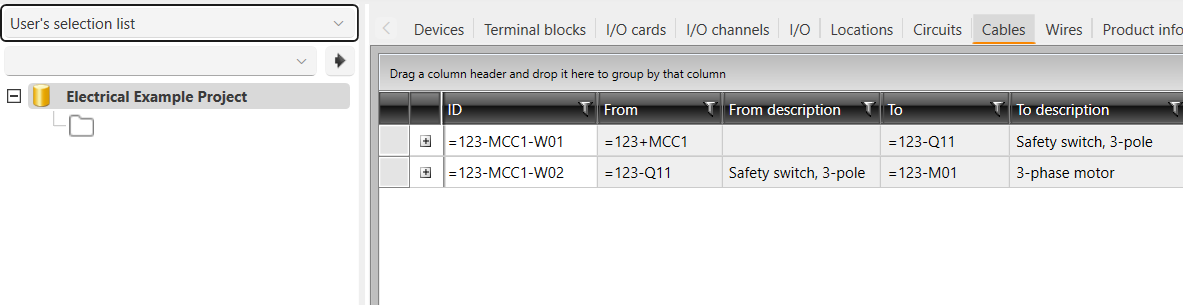
Select the Cables tab.
-
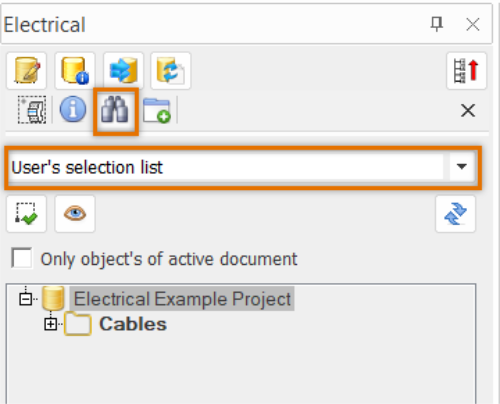
From the drop-down menu, select User's selection list. Alternatively, find the selection list at the end of the project tree and click it.
The grid shows the two cable items added to the selection list.
-
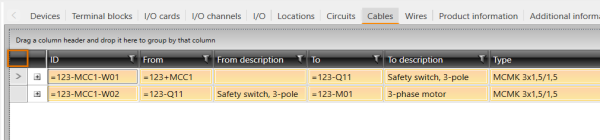
Select both of the cables from the grid with the Ctrl or Shift key, or click the left-most black header row cell to select all items in the grid:
-
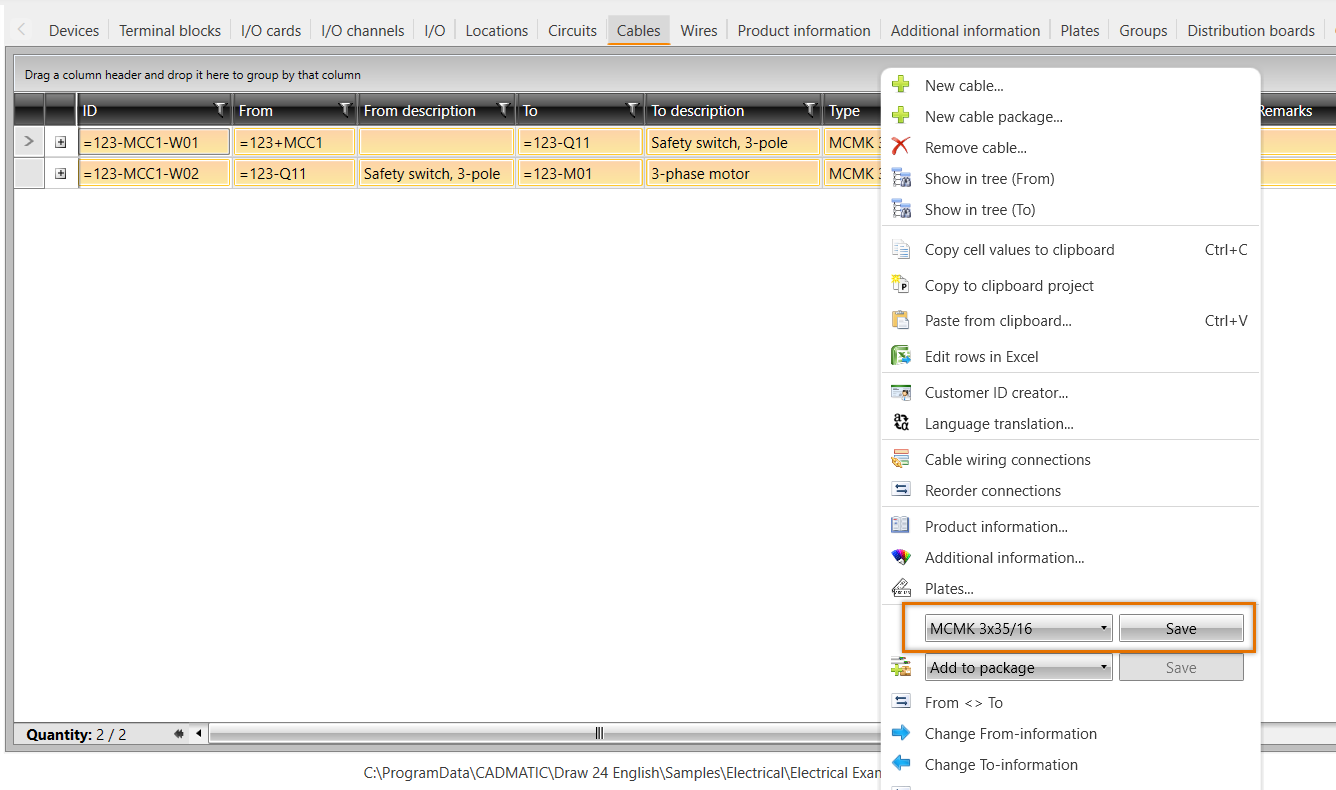
Right-click, and select some other cable type for these cables (similar cable recommended). In this example, we select MCMK 3x35/16 because it has the same number of wires. You can also add more suitable cables to your project.
-
Go back to the drawing side, and synchronize it with the
 button. Cable types are changed, and wiring markings are updated.
Now you can, for example, view and mass edit these cables.
You can easily clear the whole selection list by right-clicking it in the project tree view and selecting Clear the user selection list.

You can add different types of items to the user's selection list anytime you want. You can also view the user's selection list via the project tree:
 Previous Previous |
Next

|