Plate definitions
In plate definition management, you can define plate definitions that can be assigned for devices, locations, cables, etc. You can then generate a plate report that can be used to print the plates.
Let's create a new plate definition to the shared database.
Do the following:
-
Select Management tab > Plate definitions.
-
Select the Shared databases tab.
-
Right-click on the grid, and select New.
-
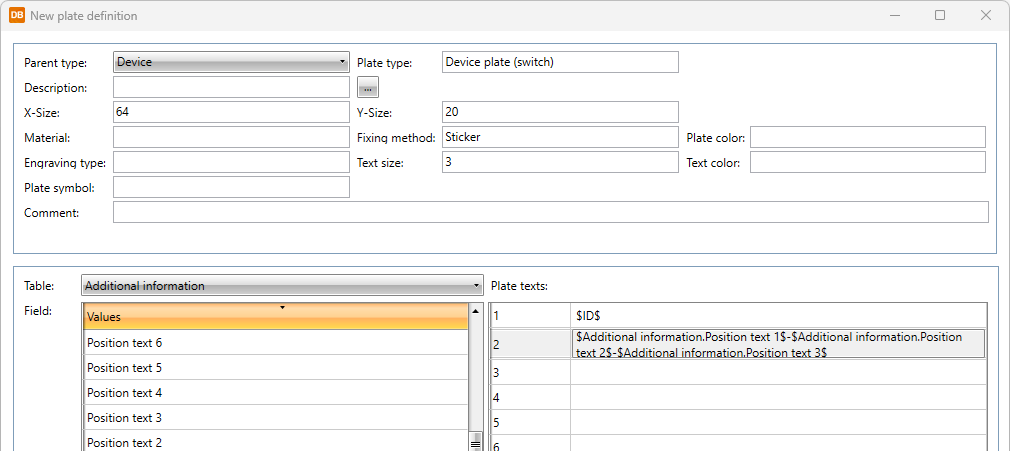
Fill in the following information:
-
Parent type – Device
-
Plate type – Device plate (switch)
-
X-size (as mm) – 64
-
Y-size (as mm) – 20
-
Fixing method – Sticker
-
Text size – 3.5
-
-
From the Table drop-down menu, select Devices.
-
From the Fieldsection, drag and drop ID to the first row in the Plate texts section.
-
From the Table drop-down menu, select Additional information.
-
From the Field section, drag and drop Position text 1, Position text 2 and Position text 3 to the second row.
-
Add hyphens (-) between the position texts, as shown in the image:
-
Click OK.
-
Add plate definition to the device:
-
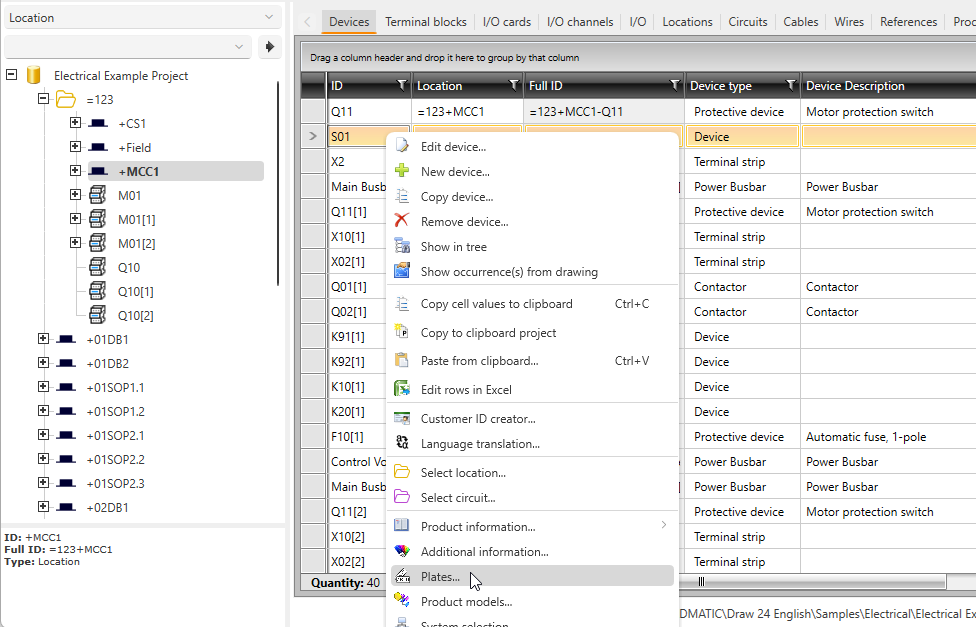
Select location =123+MCC1.
-
Select the S01 device, right-click it and select Plates.
-
In Shared databases, add the plate definition by double-clicking.
-
Click OK.
-
-
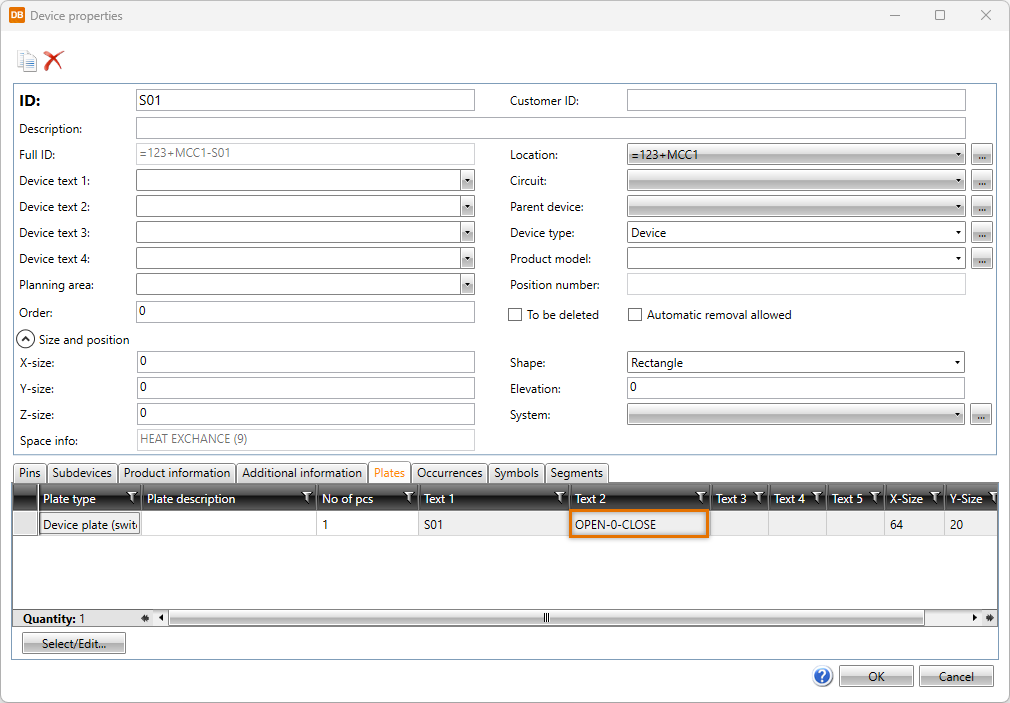
View plate information by editing the device and selecting the Plates tab. The device's position text 1 is OPEN, position text 2 is 0 and position text 3 is CLOSE so the result is OPEN-0-CLOSE.
 Previous Previous |
Next

|