Product models
A product model includes a significant amount of information about a device, such as 2D and 3D symbols, size information, positions, etc. A product model can also be created based on an existing device.
Project product models are available in the Product models project tree. In addition, you can open product model management by selecting Electrical tab > Management group > Product models.
Create a product model
Let's create a new product model in the E-0-Schematics-01-501.drw drawing.
Do the following:
-
Select Product models from the project tree drop-down menu.
-
Start creating a product model by right-clicking in the tree and selecting Create new product model.
- In the Product model dialog, define the following information:
Name – Contactor 5.5kW
Device type – Contactor
X-size – 45
Y-size – 91.5
-
Add a symbol:
-
Click Add symbol, and select New Schematics symbol > Vertical > Contactors.
-
Select a 3-phase contactor symbol from the menu.
-
Click Add symbol, and select New Schematics symbol > Contacts.
-
Select a normally-open contact.
-
-
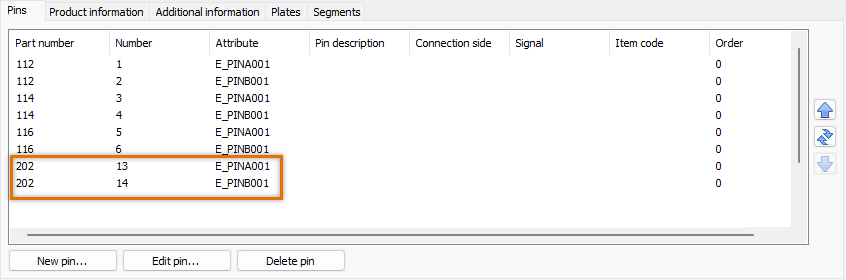
On the Pins tab, add pin numbers 13 and 14.
-
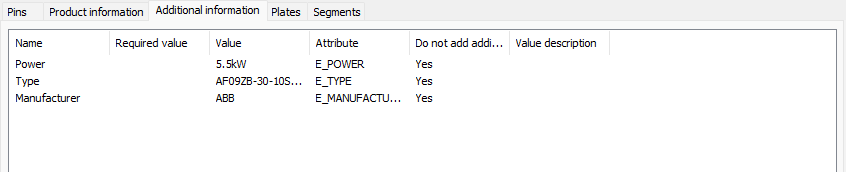
On the Additional information tab, click Additional info selection and add information as in the following image:
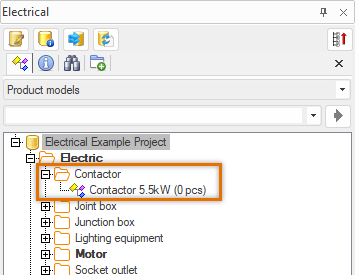
- Click OK. The product model is now available in the product model tree:
- Go to sheet 3.
- In the Product models project tree, right-click the product model and select Insert one by one. The Insert symbol dialog opens.
- Select Continue inserting device’s symbols and click OK.
- Insert the first symbol somewhere on the sheet, enter K01 as the ID, click OK and insert the second symbol.
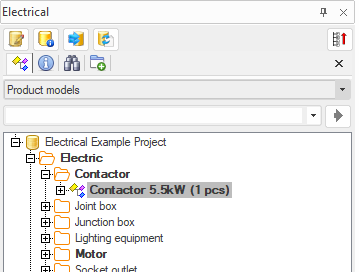
After inserting the symbols, the number of product models update to 1 in the project tree. The project tree is also automatically updated when inserting, editing or deleting product models.
Edit the product model
Do the following:
-
Right-click the Contactor 5.5kW product model, and select Edit.
-
Change the additional information Type from AF09ZB-30-10S-21 to AF09ZB-3.
-
Make sure that Update devices automatically is set to Yes.
-
Click Close. The K01 contactor updates automatically.
-
Insert a new contactor: select Schematics tab > Devices group > Symbols > Contactors and then insert the 3-phase contactor by double-clicking.
-
As the ID, enter K02.
-
Click OK.
-
In the Product models tree, right-click Contactor 5.5kW and select Assign devices.
-
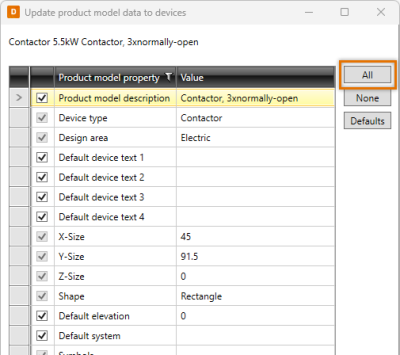
Click All, then click OK.
-
Select the K02 contactor, and press Enter.K02 has now been assigned to the product model, and the number in the project tree has been updated to 2.
-
Save the drawing.
-
Go to product model management.
-
Move Contactor 5.5kW from the project database to the shared database. The model is now available in all other projects and for all users, if required.
 Previous Previous |
Next

|