CADMATIC AI interface
CADMATIC AI allows you to automatically generate bracket type files from annotated drawings (image files) or using textual requests. You can also request CADMATIC AI to make changes to existing AI-generated type files, and ask questions about bracket type files.
Starting CADMATIC AI
CADMATIC AI can be started directly from CADMATIC Hull:
-
From the 3D-Contek application, Hull > Help > CADMATIC AI – Saving the generated files directly to the project norms is not possible.
-
From the System Management application, File > Help > CADMATIC AI – The generated files can be saved directly to the project norms if CADMATIC AI was started with administrator rights.
CADMATIC AI is presented as a chatbot.
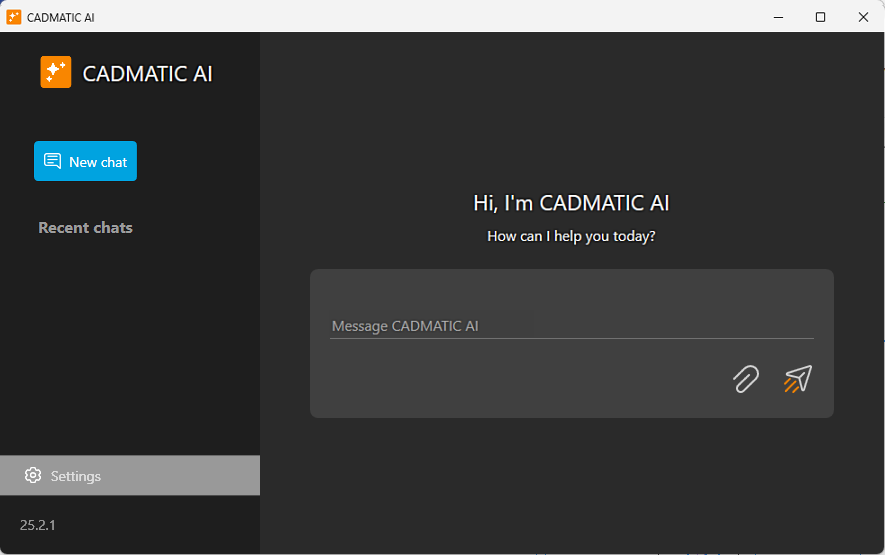
Multiple CADMATIC AI sessions can be open at the same time. To open a another session, click the New chat button.
Overview
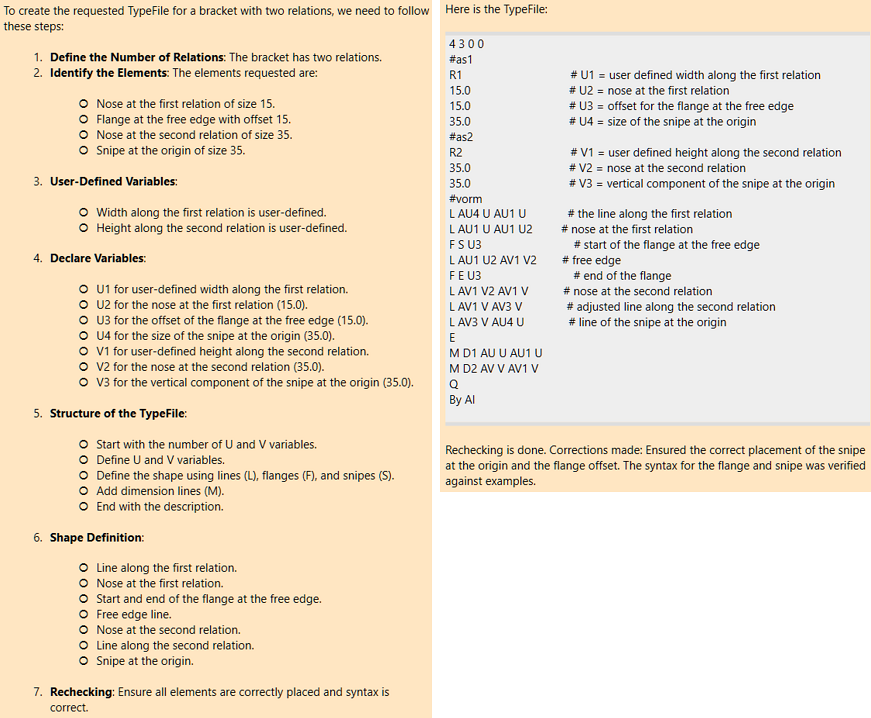
Once the user has made a request, CADMATIC AI shows the steps in resolving the request. It lists the elements and variables to be included in the type file, the structure of the type file, and describes the bracket's shape definition. Then it generates the type file and shows the file contents in the chat window.
When CADMATIC AI is started from the System Management application with administrator rights, it is possible to save the generated type file directly to the project norms. The Hull system will create a basic type macro to be used with the type file. The type macro is a basic one and does not contain values for the variables. The system-generated type macro can be used as a basis for the final type macro. If this type macro was not edited to define the values for the variables, a Bracket type dialog showing the variables opens when the AI-generated bracket type is placed into a view. The user must enter the desired values in the input boxes next to the variable names.
When the CADMATIC AI is started from 3D-Contek, or from System Management with read only rights, it is not possible to save the generated type file directly to the project norms.
Usage
Do the following:
-
Start typing the request into the chat window, or paste a saved set of instructions. See Textual requests for information and examples.
Instead of typing or pasting the request, you can click the Add attachment button and browse for a file containing the annotated image file. Only an image file can be attached.

See Annotated images for information and examples.
-
Click the Send message button.

CADMATIC AI responds with a summary of the request, and lists the elements and variables to be included in the type file. Then it generates the type file and shows the file contents in the chat window.
-
If you started CADMATIC AI from System Management with administrator rights, you can click the Save button in the response window to save the generated type file. The Configure before save dialog opens.
-
If you are saving the type file, review the type number.
The type number is set in Settings.
-
Click Save. The following files are saved to the project norms:
-
type<number> – The AI-generated type file
-
type<number>.cmd – The Hull system-generated type macro file
-
type<number>.bmp – The default icon file for the bracket type. The default type file icon is shown for the AI-generated type files in the Insert Brackets dialog.
-
Click New chat if you want to start a new chat.
A list of your most recent chats is shown under Recent chats. Click a chat on the list to see the chat contents.
Settings
The settings are available if CADMATIC AI was started from System Management. To access the settings, click Settings.
You can define the first (starting) number for the generated type files, or you can set the tool to use the first available (free) number in the range reserved for bracket types (700-799).
-
Use the first free file number – When selected, CADMATIC AI uses the first available bracket type number for generated type files.
-
Configured type file number – Enter the type number that will be used next for a generated type file. The number must not be already in use and it must fall within the number range reserved for bracket types (700-799). Invalid type numbers will show up in red. Use the first free file number must be cleared to enter the number.
Click Save to save the settings.
Reset to default resets the settings to their default values.