Markings
Construction > Items > Markings

Select from the following marking functions:
Marking Lines – Turns 2D lines into marking lines for plates.
Measure Points – Creates measure points.
Converting 2D lines to marking lines
Convert an existing 2D line to a marking line.
Note: The 2D line should not start or end with an arc. However, a single arc can be converted to a marking line.
Do the following:
-
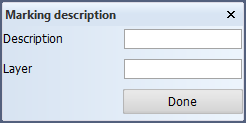
Select Construction > Items > Markings. The Marking description dialog opens.
-
Fill out a description and a layer for the marking.
-
Select the 2D line to be converted.
- Click on Done to create the marking.
If the 2D line is selected first without entering a value in the two fields in the dialog, the marking line is created without any description or layer.
The defined layer's presentation can be controlled with the Layer Control function in View > Presentation > Filters.
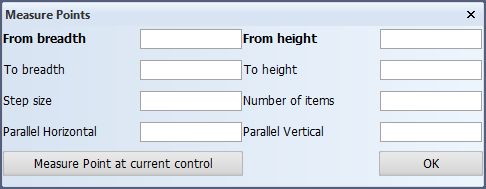
Measure Points
The function creates a measure point on the plate, and that is also marked on the coded part.
There are several options for giving the values in the dialog:
-
From/To breadth – Defines the breadth from/to where the measure points are created.
-
From/To height – Defines the height from/to where the measure points are created.
-
Step size – Defines the step size for the measure points.
-
Number of items – Defines the number of measure points.
-
Parallel Horizontal/Vertical – Defines the points as parallel in horizontal or vertical direction.
-
Measure Point at current control – Selects the From breadth and From height values from the currently indicated control point.