Relations
Construction > Items > Welds > Modify > Relations
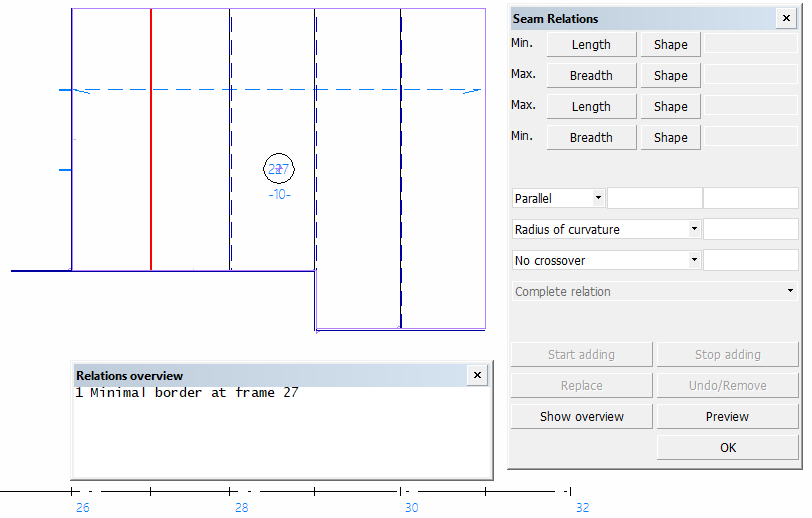
Change the relations of topological seams. Only one seam's relations can be changed at a time.
Do the following:
-
Select Construction > Items > Welds > Modify > Relations. The Seam Relations dialog opens.
-
Indicate the seam whose relations to modify in the graphical window. Only one seam can be selected at a time. Only topological seams can be selected.
The Seam Relations dialog opens, along with the Relations overview list which shows all the relations of the selected seam.
-
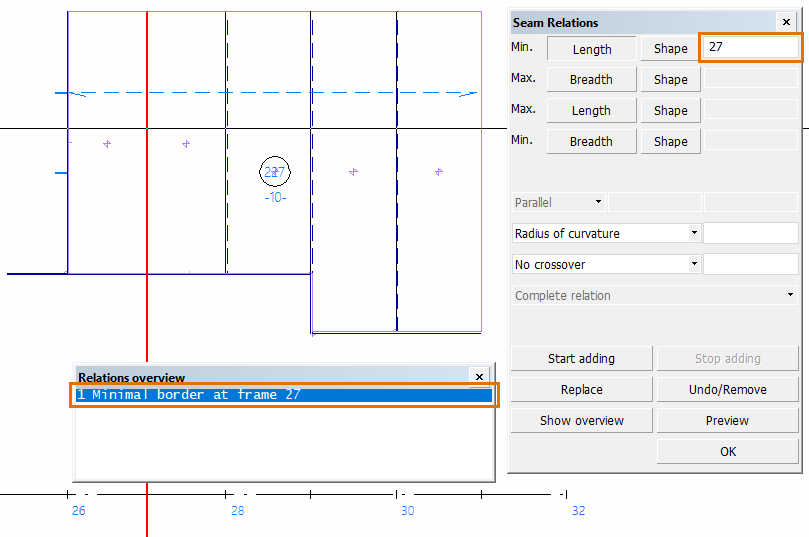
Select the relation to modify in the Relations overview list, or indicate it in the graphical window. The properties of the selected relation are shown in the Seam Relations dialog.
-
Change the relations of the seam. You can modify the existing relations and add new ones.
-
To modify the relation, enter new Min. and/or Max. values in the input boxes, or click Replace and then indicate in the graphical window a relation to replace the currently selected one. You can also indicate a grid value.
-
To add new relations, click Start adding and indicate the new relations counterclockwise in the graphical window. Click Stop adding once done.
You can click Preview to show the new seam's contour in the graphical window.
-
-
Click on the OK to create the seam.
Topological seams can be copied, moved and removed like construction items with the Copy 3D-items, Move 3D-items, and Remove 3D-items functions, respectively. The item type of the topological seam in the item type drop-down menu in the copy, move and remove dialogs is Welded seam.