Managing hull line ranges
Hull line ranges facilitate the distribution of work between more than one site in a project. In addition, they help categorize the hull lines. Hull line ranges are defined in subsets that allow users to easily check out a collection of hull line ranges to add, modify, recalculate and delete hull lines.
In COS projects all hull line ranges must be checked out at the site, otherwise a warning is displayed in the message window. For a standalone project the requirement is that the ranges definition file (hull_lr) exists and can be read.
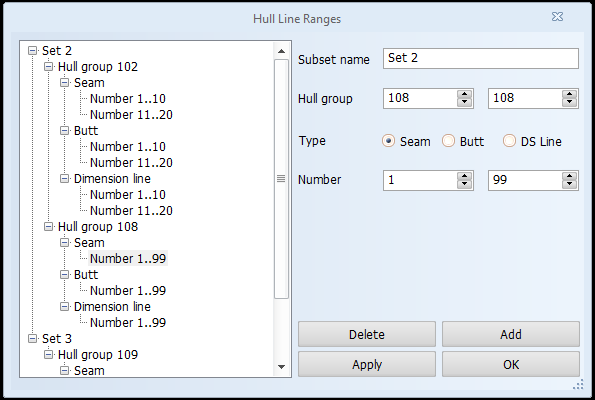
In System Management, the tree view shows the available hull line ranges in a hierarchical structure. The highest level is the subset, below which are one or more hull groups, line types (butt, seam and dimension) and numbers belonging to that subset. Multiple ranges of the same hull line type can be defined for each hull group.
The hull lines are exchanged with subsets. Therefore, modifying subsets and their ranges affect the exchange of hull lines as well. Creating new subsets as well as modifying and deleting subsets result in modifying the hull line ranges for subsets, whereas renaming does not. For example, when a subset is deleted, the hull lines associated with the subset (hull lines whose keys lie in the range of the subset) are also deleted. Both the subset object and the associated hull line object(s) are then deleted from COS.
Hull lines that do not belong to hull line ranges remain local.
Note: In the COS environment, the data structure of hull line ranges is different from the HDX system. The old hull line ranges are imported into the new data structure. Ranges belonging to the same participant are grouped together in one set. All unassigned ranges form a set. Using the old and new hull line range definition methods intermixed will result in loss of the set information but not in errors.
Note: Hull boundary lines and groups intersection lines are not part of subsets objects in COS, but part of the Hull shape object. Therefore hull line subset operations in COS do not affect boundary hull lines or groups intersection lines. For information on the hull boundary lines and groups intersection lines, see Hull boundary lines and Hull group intersection lines.
Adding hull line ranges
Note: Hull line ranges need to be unique within a project, that is, they cannot overlap.
Do the following:
-
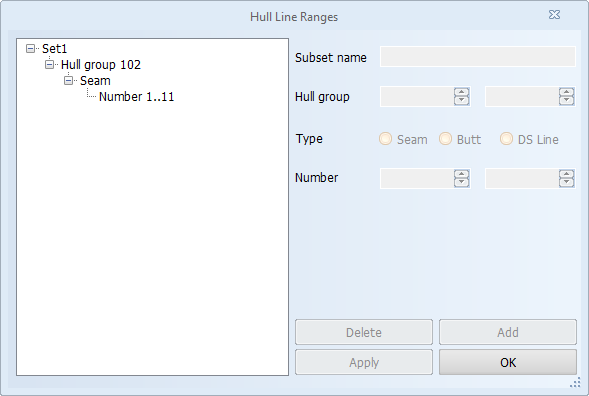
Go to System Management > Projects > Hull Line Ranges. The Hull Line Ranges dialog opens.
-
Define the first subset as follows:
-
In the Subset name field, enter a name for the new subset.
-
In the Hull group fields, define the range of hull groups. The numbers need to be positive without decimals and between 0 and 9999.
-
Select Seam, Butt or DS Line as the line type.
-
In the Number fields, define the number range. The numbers need to be positive without decimals and between 0 and 99999.
-
Click Add. The new subset is added to the tree.
-
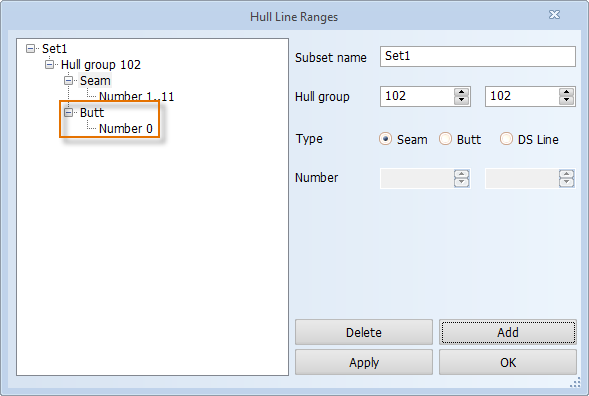
Add additional hull groups, types or numbers by selecting the desired item in the tree and then defining the values. For example, if you want to add a new type to a group in Set1, first select Seam in the tree, then select the new type and click Add. The type is added below the selected group in Set1:
-
-
Define the next subsets as follows:
-
Below the first subset, select Number from the tree to open all the fields for editing.
-
Define the values as described above.
-
Click Add. The new subset is added to the tree.
-
Add additional hull groups, types or numbers as described above.
-
-
Click OK to save the changes.
-
If you want to check in the changes, click Yes. Otherwise click No.
Modifying hull line ranges
Do the following:
-
Go to System Management > Projects > Hull Line Ranges. The Hull Line Ranges dialog opens.
-
Select the item you want to modify.
-
Change the values as desired.
-
Click Apply to save the changes.
-
Click OK to save the changes.
-
If you want to check in the changes, click Yes. Otherwise click No.
Tip: If you want to move items from one set to another, you can drag and drop them.
Deleting hull line ranges
Do the following:
-
Go to System Management > Projects > Hull Line Ranges. The Hull Line Ranges dialog opens.
-
Select the item you want to delete.
-
Click Delete.
-
Click OK to save the changes.
-
If you want to check in the changes, click Yes. Otherwise click No.