Group
Each weld object is a member of a weld group. Usually weld groups are created per weld document and both are made per logistic node such as a ship block. Weld groups must have a unique name among all groups. A weld group defines a weld number range and each weld in the weld group has a unique weld number within the defined range.
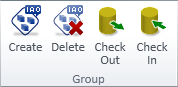
Create
You can create new weld groups to logistic 3D spaces. The new groups remain checked out to your design area until you check them in.
Do the following:
-
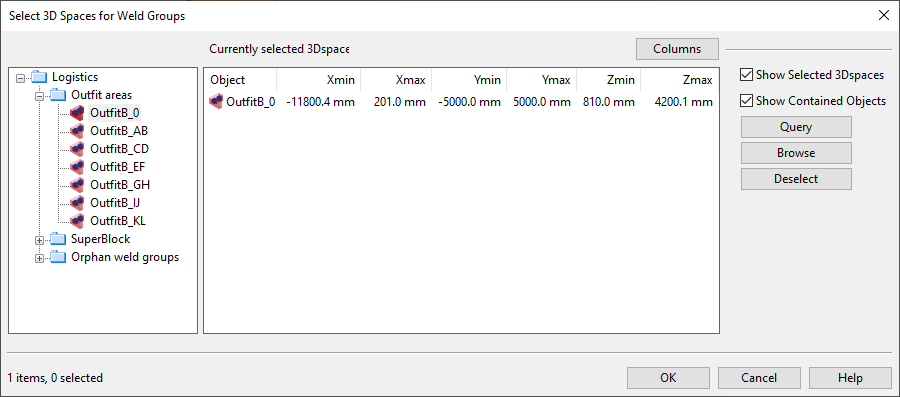
Select Create. The Select 3D Spaces for Weld Groups containment browser opens.
-
Use the hierarchical tree to select the logistic 3D spaces where the new weld groups are to be added. (You add one new weld group to each logistic 3D space that you select here.)
-
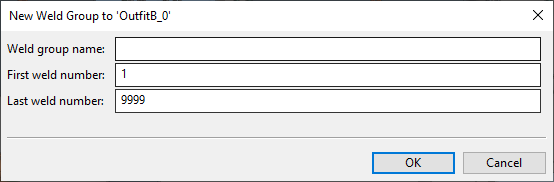
Click OK. The New Weld Group to '<space>' dialog opens.
-
Fill in the following information:
-
Weld group name – Enter a name that is unique among all weld groups.
-
First weld number – Enter the first number of the allowed numbering range.
-
Last weld number – Enter the last number of the allowed numbering range.
-
-
Click OK.
-
If you chose to create a weld group for more than one logistic 3D space, define each additional weld group in the same way.
Tip: You can also create new weld groups with the Create tool in the Active group, as described in Weld group.
Delete
You can delete weld groups that are currently checked out to your design area.
Note: If nothing happens when you select Delete, then there are no checked-out weld groups. Use Check Out to check out the required weld groups.
Do the following:
-
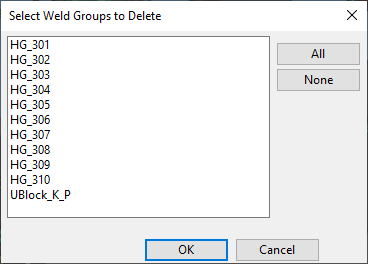
Select Delete. The Select Weld Groups to Delete dialog opens, listing the weld groups that are checked out to the area.
-
Select the weld groups that you want to delete from the list.
-
Click OK.
Check Out
You can check out weld groups from COS so that you can edit them in your design area.
Do the following:
-
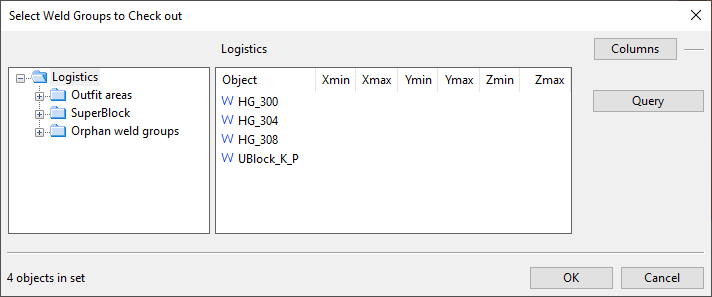
Select Check Out. The Select Weld Groups to Check out containment browser opens.
-
Use the hierarchical tree to select each weld group that you want to check out from COS. The selected weld groups are listed in the Logistics pane.
-
Click OK.
Check In
You can check in weld groups that are currently checked out to your design area.
Note: If nothing happens when you select Check In, then there are no checked-out weld groups.
Do the following:
-
Select Check In. The Select Weld Groups to Check In dialog opens, listing the weld groups that are checked out to the area.
-
Select the weld groups that you want to check in to COS.
-
Click OK.