Group
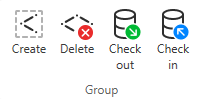
On the Weld tab, you manage weld groups using the following tools.
Each weld object is a member of a weld group. Weld groups are usually created for a weld document, and both are typically created for a logistics containment such as a ship block. Weld groups must have a unique name across all weld groups. A weld group defines a weld number range, and each weld in the group has a unique weld number within that range.
Create

You can create new weld groups to logistics 3D spaces. The new groups remain checked out to your design area until you check them in.
Do the following:
-
Select Weld tab > Group group > Create.
-
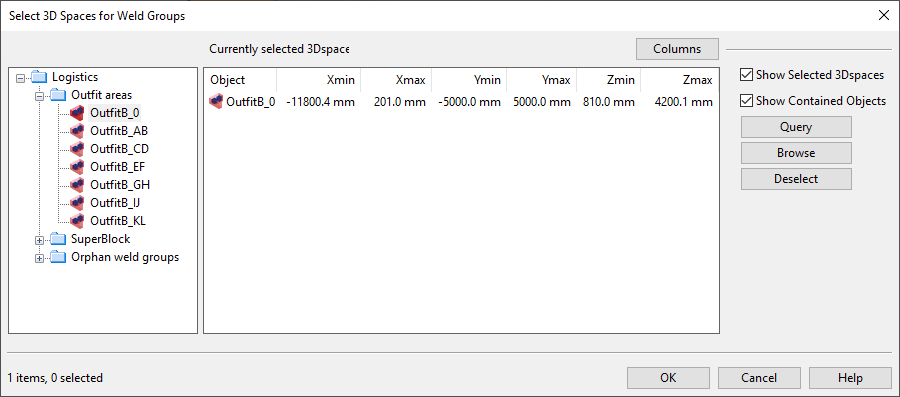
In the Select 3D Spaces for Weld Groups containment browser, use the hierarchical tree to select each logistics 3D space where you want to add a new weld group, and click OK.
-
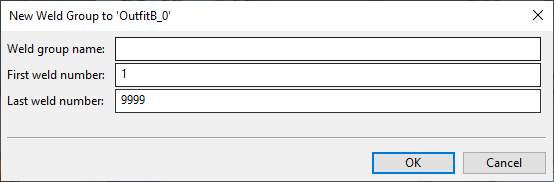
In the New Weld Group to '<space>' dialog, enter the following information, and click OK.
-
Weld group name – Enter a unique name for this weld group.
-
First weld number – Enter the first allowed weld number for this weld group.
-
Last weld number – Enter the last allowed weld number for this weld group.
-
-
If you chose to create a weld group for more than one logistics 3D space, define each additional weld group in the same way.
Tip: You can also create weld groups through Weld tab > Active group > Create. See Weld group.
Delete

You can delete weld groups that are checked out to your design area.
Do the following:
-
Select Weld tab > Group group > Delete.
Note: If nothing happens, there are no checked-out weld groups.
-
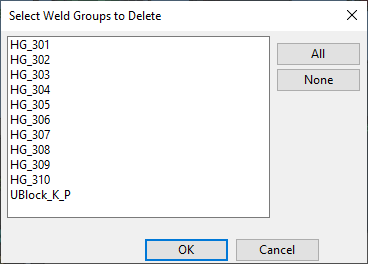
In the Select Weld Groups to Delete dialog, select which of the checked-out weld groups to delete, and click OK.
Check out

You can check out weld groups that are checked in to COS.
Do the following:
-
Select Weld tab > Group group > Check out.
-
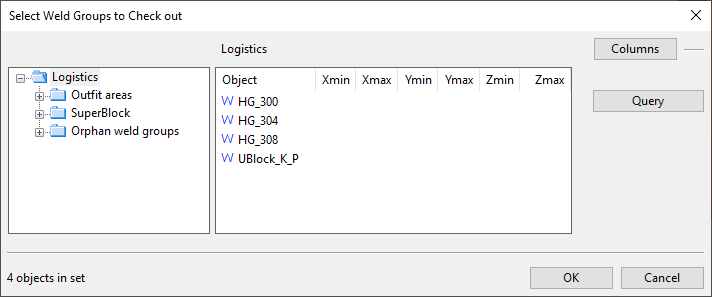
In the Select Weld Groups to Check out containment browser, use the hierarchical tree to locate and select the weld groups to check out.
-
When the Logistics pane includes all the weld groups you want to check out, click OK.
Check in

You can check in weld groups that are checked out to your design area.
Note: If nothing happens when you select Check in, there are no checked-out weld groups.
Do the following:
-
Select Weld tab > Group group > Check in.
-
In the Select Weld Groups to Check In dialog, select which of the checked-out weld groups to check in, and click OK.