Layer configuration
In CADMATIC, 2D drafting uses the DWG format internally. In this format, layers allows similar entities to be grouped into layer groups, and visual properties such as color, lineweight, and linetype to be assigned to the layers within each group.
CADMATIC documents can use layers both for the lines of 3D objects shown in drawing views and for 2D annotations added on top of drawing views or the document page. In addition, layers can be utilized in scripts and directly in 2D symbols.
-
For information on how layers are utilized in 3D views, see Defining a layer style.
-
For information on how layers are defined for different annotation types, see Annotation Property Defaults.
-
For information on how systems are assigned to layers in P&ID export, see Diagram layer.
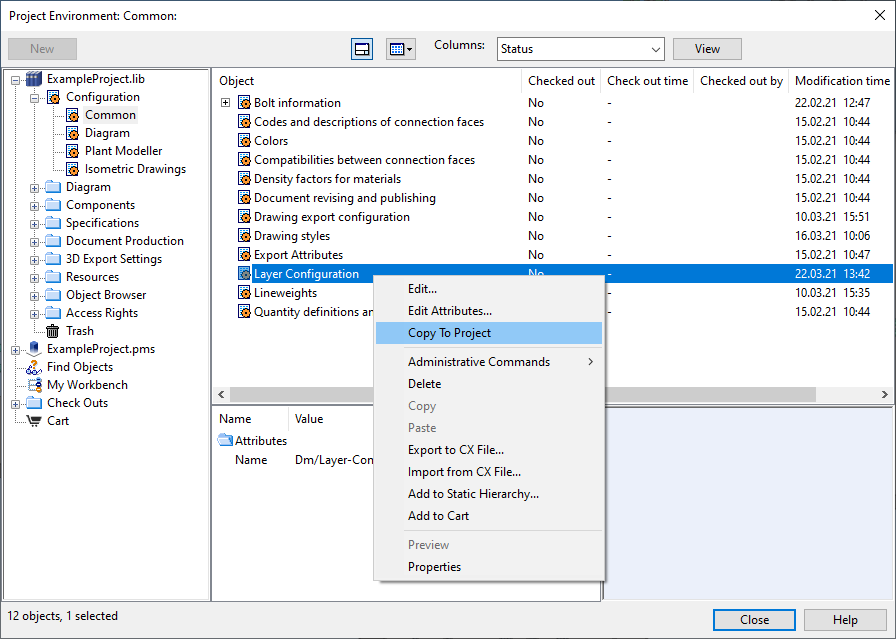
In the Project Environment dialog, in [library or project] > Configuration > Common, the Layer Configuration configuration object defines the layer groups and layers to be used. The configuration object can be edited using the Edit Layer Configuration dialog, as described below.
There is always one default layer group, Default, which contains one layer (0) and cannot be renamed or deleted. Additional layers can be added to this group. In addition to the default group, the CADMATIC example project includes several example layer groups and layers, and you can create additional groups and layers as needed.
There are several ways to create new layers and layer groups:
-
Create layers and layer groups manually.
-
Generate a layer for each system definition. The generated layers are assigned to a single layer group, whose name can be freely defined.
-
Import layers from a DWG or DWT file. The imported layers are assigned to a single layer group, whose name can be freely defined.
Layers can be moved from their current group to another group, if needed. Each layer and layer group must have a unique name, and each layer can be associated with a color so that different layers can be distinguished in user interfaces.
Layer groups
The layer group configuration should form a hierarchy that allows the designer to quickly locate and select the correct layer for a given purpose. Thus, each layer group should be named descriptively and be used as a container for layers that have a common theme or purpose. Administrator can arrange layers into groups based on, for example, the application where the layers are used, the document type, or the task the user is performing when selecting a layer.
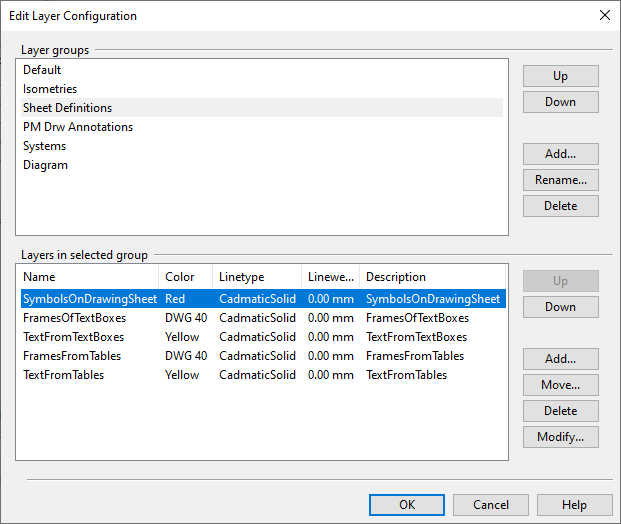
In the Edit Layer Configuration dialog, the Layer groups pane lists the currently available layer groups.
Select a layer group from the list to see which layers it contains and to manage the group and its layers.
Use the buttons on the right to add, rename, arrange, and delete layer groups:
-
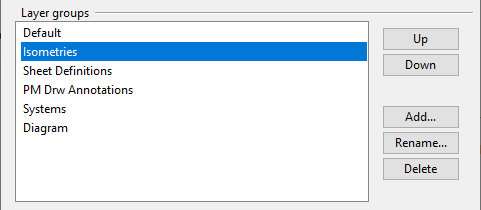
Up, Down – These buttons move the selected layer group up or down, respectively, to designate its position in the layer group menu.
-
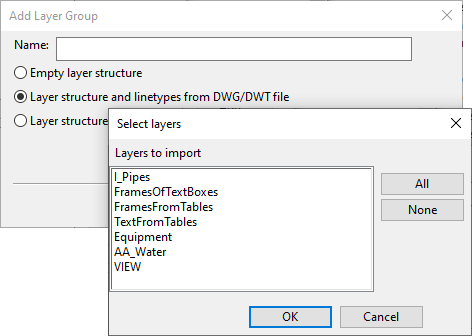
Add – Opens the Add Layer Group dialog for creating a new layer group.
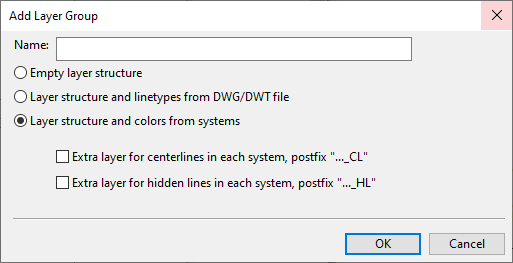
In the dialog, enter a descriptive name for the layer group and select how to define its layers.
-
Empty layer structure – Select this option to create an empty layer group. You can add layers to it by creating them manually or by moving layers to it from other groups.
-
Layer structure and linetypes from DWG/DWT file – Select this option and click OK to import layers and their linetypes from a file. You are prompted to first select a DWG or DWT file and then the layers to import from that file.
-
Layer structure and colors from systems – Select this option to create a separate layer for each system, using the layer colors in the system definitions.
Optionally, you can select two additional layers to be created for each system—one for centerlines and another for hidden lines. This allows centerlines and hidden lines to be assigned to separate layers in layer style configuration. See Defining a layer style.
-
-
Rename – Opens a dialog for renaming the selected layer group.
-
Delete – Deletes the selected layer group and the layers it contains.

Layers
Layers can be used as containers for drafting objects that have something in common, so that, for example, all sheet definitions are on a separate layer that does not contain any other objects. Each drafting object is on some layer—on the default layer or on a specific layer that the designer selects when inserting the object. Layers can be, for example, shown or hidden in views, included or excluded in file export, and arranged hierarchically.
In the Edit Layer Configuration dialog, the Layers in selected group pane lists the layers of the currently selected layer group.
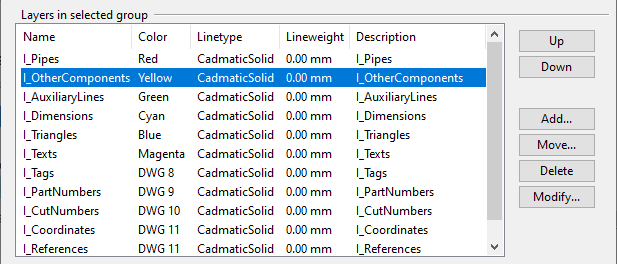
Use the buttons on the right to create new layers, move layers from one group to another, and define layer properties such as layer color and linetype. Note that you can select multiple layers to move, delete, or modify them simultaneously.
-
Up, Down – These buttons move the selected layers up or down, respectively, to designate their position inside the layer group.
-
Add – Opens a dialog for creating a new layer. See Adding new layers.
-
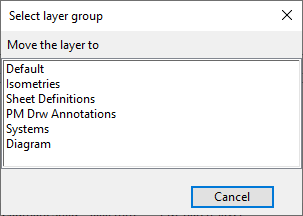
Move – Opens a dialog for moving the selected layers to a different layer group.
-
Delete – Deletes the selected layers.
-
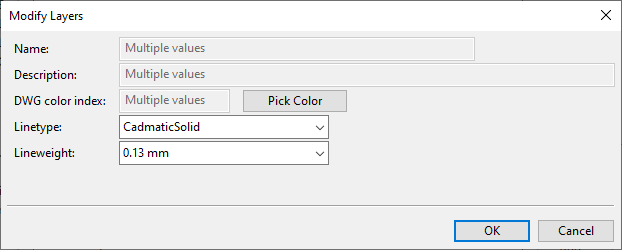
Modify – Allows modifying the properties of the selected layers. In multi-selection, only fields where the current value is the same for all selected layers are editable.
Adding new layers
You can add new layers to a layer group.
Prerequisites
-
The linetype to use has been set up, as described in Drawing styles.
-
The lineweight to use has been set up, as described in Lineweights.
Do the following:
-
In the Edit Layer Configuration dialog, in the layer group section, select the layer group to which to add the layer.
-
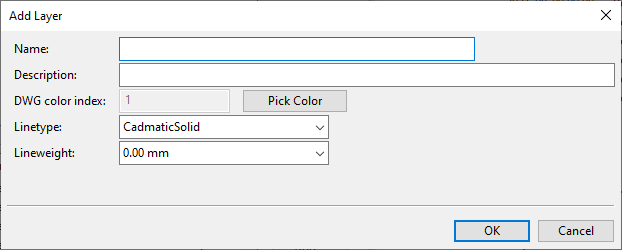
In the layer list section, click Add. The Add Layer dialog opens.
-
Enter the layer properties:
-
Name – Layer name, up to 255 characters.
-
Description – Layer description.
-
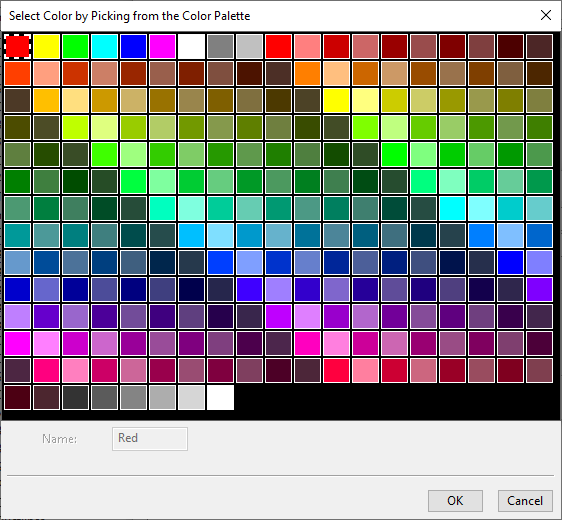
DWG color index – Click Pick Color to select the layer color from a color palette.
-
Linetype – Select a linetype for the layer.
-
Lineweight – Select a lineweight for the layer.
-
-
Click OK. The new layer is added to the end of the layer list; use the Up button to move it higher, if needed.
Copying the layer configuration to the project database
There can be a 'Layer Configuration' configuration object in the library database and in the project database.
-
If the configuration only exists in the library database, then that one is used in the project.
-
If the configuration exists in both databases, then the one in the project database is used in the project.
When there is no configuration in the project database, the one in the library database can be copied to the project database by selecting Copy to Project from the context menu.