Insert armatures (valves) into the pipeline
Next, you learn how to insert valves into your first diagram. The insertion of armatures is quite similar to that of equipment. First, you select the type of the armature you want to insert, and then you place it into the pipe segment. However, you do not define armature data or insert a label. A more advanced way to insert a valve and an actuator is to insert a flexible object. For more information, see Insert flexible objects.
Do the following:
-
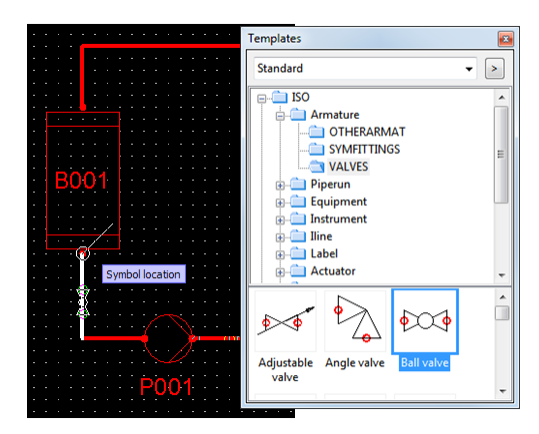
Select Templates > ISO > Armature > VALVES.
-
Double-click Ball valve.
-
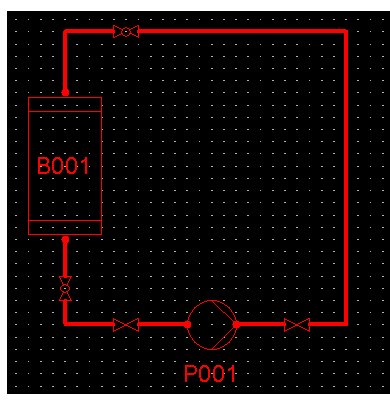
Place the valve on the vertical pipeline segment underneath the vessel.
-
Insert three more valves as shown in the image below.
-
Press Esc to exit the inserting mode.
You have now added four valves to the pipeline.
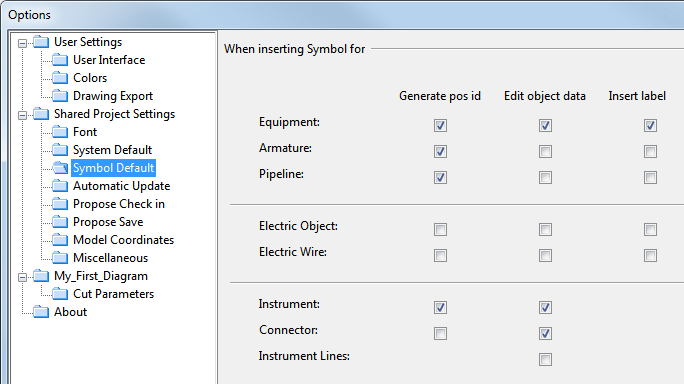
If you want, you can edit the settings to allow you to edit armature data and insert a label when armatures are inserted. The default settings cause the program to skip these steps. A database record is created for the valve but the position ID field is left empty.
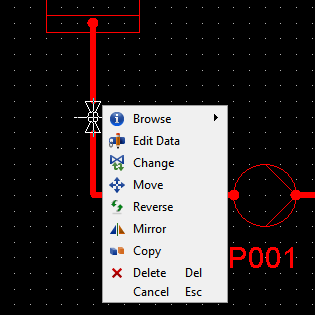
You can edit the records of existing armatures by selecting Edit Data.