Opening models
You can open models both online and offline. For offline use, you need to download the models first (see Downloading models for offline use).
The models for eShare for HoloLens are published in the eShare projects' default coordinate system.
If a 3D model is too large to be downloaded into eShare for HoloLens or only specific parts of the model are of interest, project administrator can define settings for publishing of submodels in eShare. You can then select which submodel to download into your glasses.
Opening models online
Do the following:
-
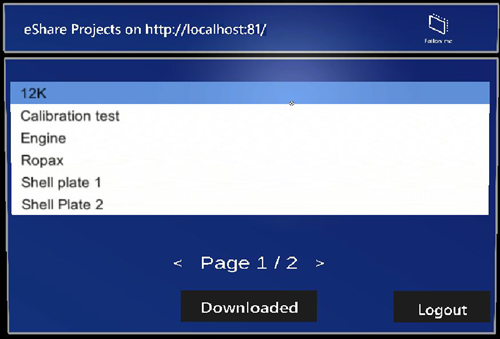
Log into the application. A dialog listing available projects opens.
-
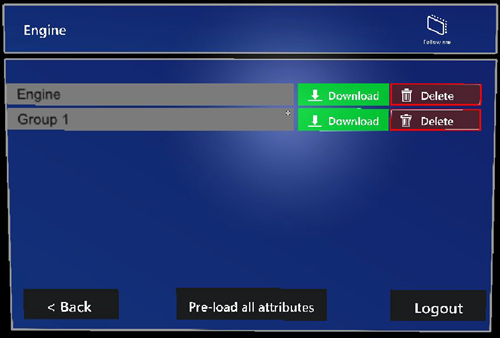
Tap the desired project. The project dialog opens. If the project administrator has defined submodels, they are shown below the selected project.
-
Enable Pre-load all attributes if you want to load the attributes of the model at start-up.
-
Tap the model you want to open.
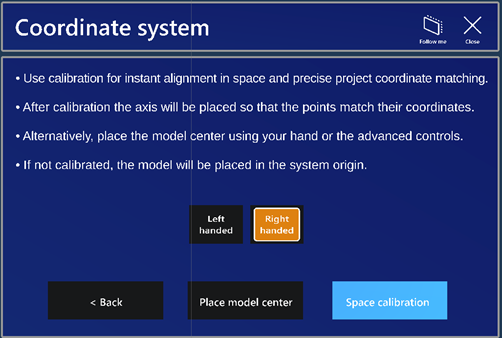
The Coordinate system dialog opens.
-
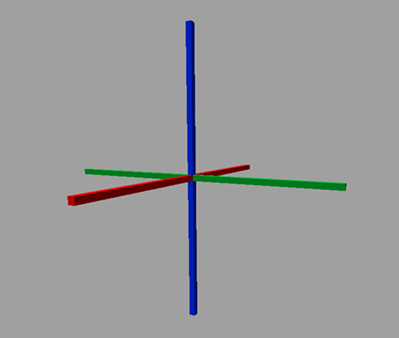
Select the handedness of the system.
-
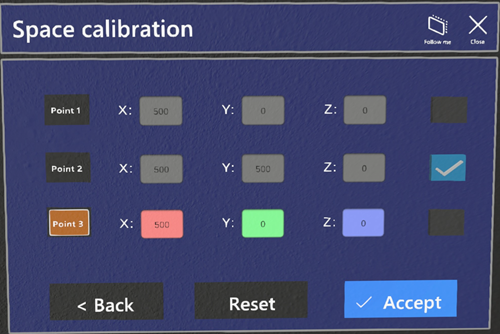
Select Space calibration. Space calibration dialog opens.
This feature allows to calibrate space so that the coordinates of the model match the environment. If calibration is performed correctly, then the model will also be aligned without extra steps.
The custom origin will correspond to the origin of the entire project and the model will be placed accordingly.
-
Create a link between the environment and the model space by matching three points in the following way:
-
Select a point by clicking on the appropriate button. The point marker, as well as coordinate text boxes will change color and activate.
-
Type the coordinates of the point in the model.
-
Place the active point in space to mark the correct corresponding point in the environment.
-
Repeat for the other two points.
-
If a point is valid, then its checkmark will become active.
-
After defining all points and they are all valid, select Accept.
-
To start over, select Reset.
-
-
Alternatively, you can define space in the following way:
-
Select Place model center.
-
Grab the point visual object representing the model geometric center and move it to the desired position.
-
Alternatively, Advanced controls for position in Manipulation tool can be used to move by increments (by button) or by coordinate input (textbox).
-
Advanced controls are also used to rotate by slider or by angle input (textbox).
-
-
The model opens.
You can modify the coordinate system later while the model is open in Advanced controls for position in the Manipulation tool.
If the model position was saved in a previous session and a preset is available, you can choose instead to use that position relative to the axes.
For more information on controlling your sessions, see Reviewing models.
Opening models offline
Before you can review models offline, you need to download them (see Downloading models for offline use).
Do the following:
-
In the login dialog, select Downloaded models. Alternatively, log in and select Downloaded.
The Downloaded projects dialog opens.
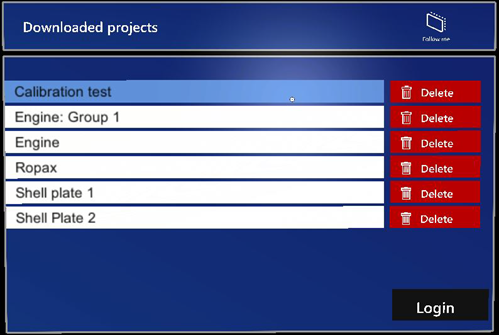
-
Tap the model you want to open.
The Coordinate system dialog opens.
-
Select the handedness of the system.
-
Select Space calibration. Space calibration dialog opens.
This feature allows to calibrate space so that the coordinates of the model match the environment. If calibration is performed correctly, then the model will also be aligned without extra steps.
The custom origin will correspond to the origin of the entire project and the model will be placed accordingly.
-
Create a link between the environment and the model space by matching three points in the following way:
-
Select a point by clicking on the appropriate button. The point marker, as well as coordinate text boxes will change color and activate.
-
Type the coordinates of the point in the model.
-
Place the active point in space to mark the correct corresponding point in the environment.
-
Repeat for the other two points.
-
If a point is valid, then its checkmark will become active.
-
After defining all points and they are all valid, select Accept.
-
To start over, select Reset.
-
-
Alternatively, you can define space in the following way:
-
Select Place model center.
-
Grab the point visual object representing the model geometric center and move it to the desired position.
-
Alternatively, Advanced controls for position in Manipulation tool can be used to move by increments (by button) or by coordinate input (textbox).
-
Advanced controls are also used to rotate by slider or by angle input (textbox).
-
-
The model opens.
You can modify the coordinate system later while the model is open in Advanced controls for position in the Manipulation tool.
If the model position was saved in a previous session and a preset is available, you can choose instead to use that position relative to the axes.
For more information on controlling your sessions, see Reviewing models.