Integrating Hull data with the Outfitting project
Steps 1-4 describe how to add Hull data to the project and the steps after that describe the actual integration at the main site.
-
Open the CADMATIC Desktop and browse to the project.
If you have not created the workspace yet, create it and browse to your workspace.
-
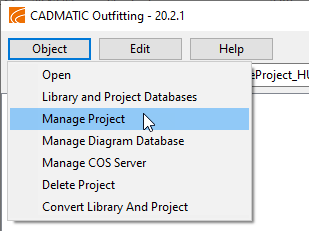
Select Object > Manage Project.
-
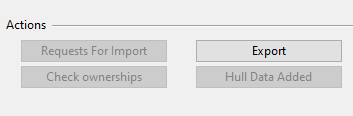
Click the Add Hull Data button in the Manage Project panel.
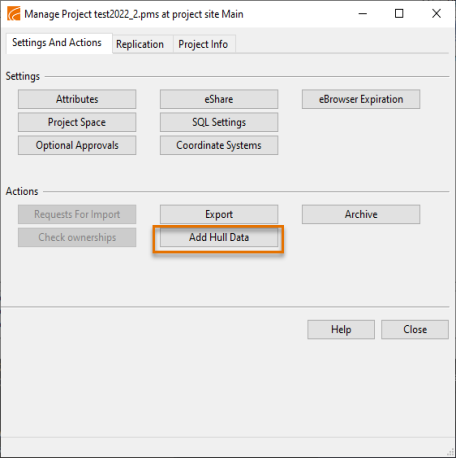
Note: If the Add Hull Data option is not enabled due to an error related to Hull data, a description of the error is displayed on the Project Info tab of the Manage Project dialog.
Note: If the Hull data has already been added, the option is then named Hull Data Added and it is grayed out in the Manage Project panel.
-
The Configure Hull Data dialog opens.
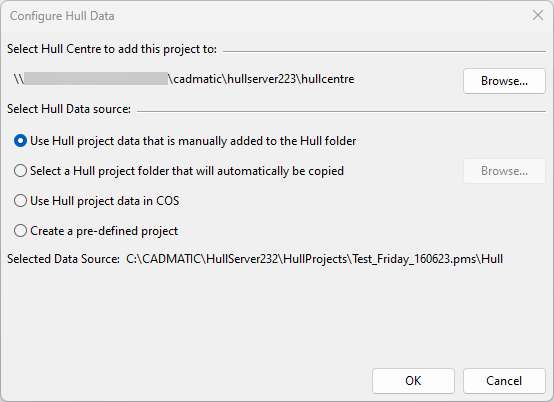
The data can be copied manually or automatically, an external .cx file can be used, or a predefined project can be used.
-
Click Browse and select the Hull Centre that this project will be coupled with.
The system checks whether the given Hull Centre looks like a valid Hull Centre. If at least one of the following subfolders is found, the folder is recognized as a valid Hull Centre location: client, codscripts, Eagle, hullcos, hull_library, ncgh, shapes, userstd.
-
Select the Hull project data source and click OK.
The data can be copied manually or automatically, an external .cx file can be used, or a predefined project can be used.
-
-
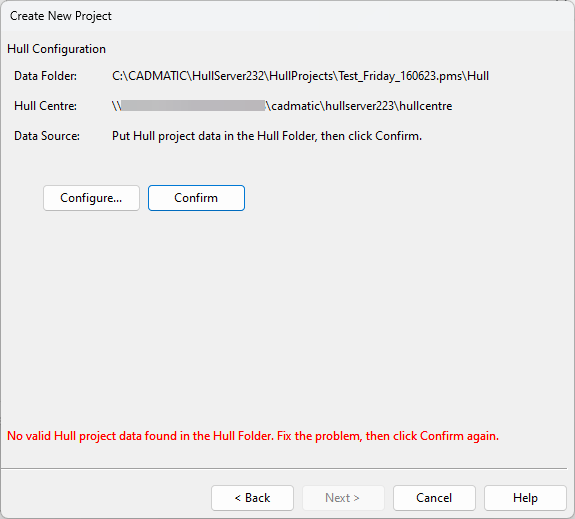
Click Confirm to verify that Hull project data is present in the folder defined.
Note: The Confirm option is available only if the Use Hull project data that is manually added to the Hull folder option was selected as the Hull data source.
If you have defined a wrong path for the Hull data or no valid Hull data is found, you need to move the Hull data in the folder to fix the problem.
Note: For a faster method of copying Hull data to a COS project, see Copying the Hull data folder to a new project.
-
The system will now copy the Hull project into the Outfitting project.
Note: The original (HDX) Hull project will not be changed.
After copying the data, internally some changes will be done to the copied Hull project data which allows the project to be opened in CADMATIC Hull COS. As a result the copied project cannot be opened in Hull HDX. Additionally the Shape, General Project Data, and Norms will be saved to COS. Empty block objects for each block in the project are also saved. Block 999 (if it exists) is saved fully.
When this step is finished, the Hull data has been added and the Hull Data Added option is grayed out in the Manage Project panel.
Note: See also Creating CGF files with Hull Clone after adding Hull data.
-
At this point it is important to know how hole requests will be handled. If the project does not contain hole requests, skip this step.
Otherwise read the description on Hole Requests before entering the project for the first time. If the chosen method is to reset all hole requests, it is suggested to do that now. If it is ok to temporarily not see hole requests in the 3D parts in Plant Modeller (that is, not until the Hull user has accepted them) this step can also be skipped.
-
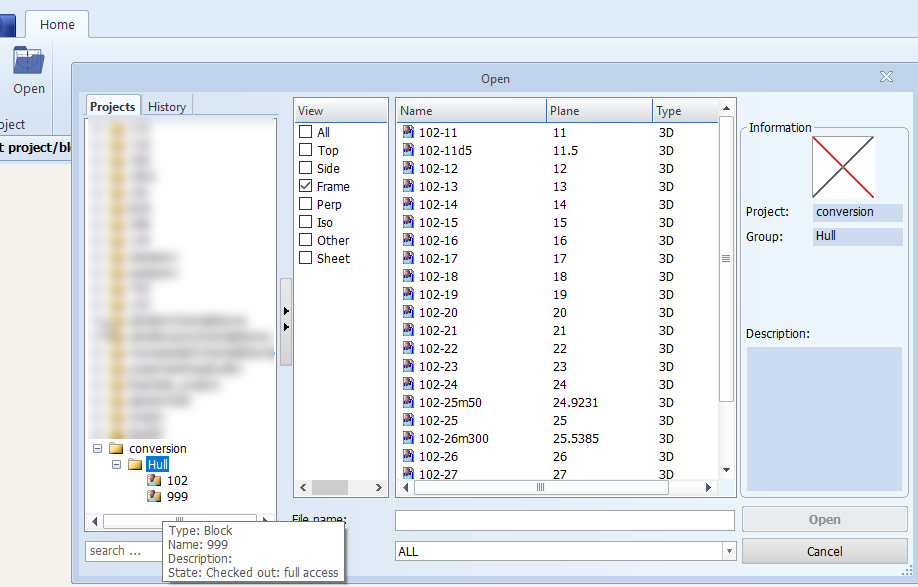
Open an empty block (999) in the imported project in Hull.
If the project contains a block 999 it is advisable to open that block. Otherwise open any block.
-
When the project is opened for the first time, the Hull system will:
-
Execute any outstanding data updates not related to the import to Hull COS, depending on the version you are importing to.
-
Remove all old Outfitting holes from all blocks and mark each part that contains such a hole as out of date.
This forces a recalculation of these plates based on the hole requests that will be retrieved next.
-
Then all hole requests are retrieved from COS.
-
-
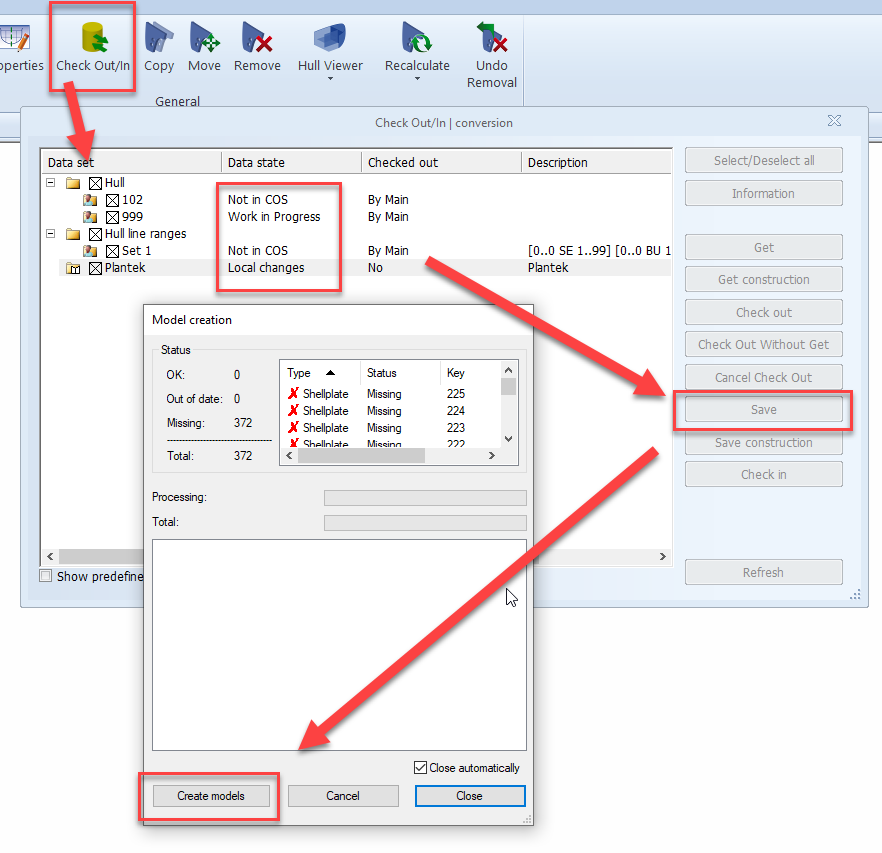
Open the Check Out/In panel and save all blocks into COS.
If a project contains hole requests, it is advisable, but not strictly necessary to handle those before saving data for the first time to COS. For more information, see Conversion of hole requests.
Note: This step must be executed even if the block was not put back to the Owner site and the intention is to save Hull data from the participant site. That will be taken care of when migrating the participant site.
Note: A new format was introduced in Cadmatic Hull COS for exchanging 3D geometry data with COS, and this file needs to created for each part when saving for the first time to COS. Therefore it can take quite some time to save the block data to COS for the first time.
-
Blocks that could not be handed back to the Owner site and for which the participant site has the most up-to-date data, should be checked in instead of saved.