Creating replica server installation (.cri) files
The Create Replica Server wizard opens when you are creating a replica server via Manage Project (project and library) or Manage COS Servers (libraries only). This wizard lets you define the initial setup for a new COS replica server and save it in a CADMATIC Replica Installation file, named using the format <server_name>.cri.
Do the following:
-
Start the .cri file creation based on what it should include:
-
Project database and its library:
Follow the Creating project sites instructions up to the point where you click Create Replica.
-
One or more library databases (no project databases):
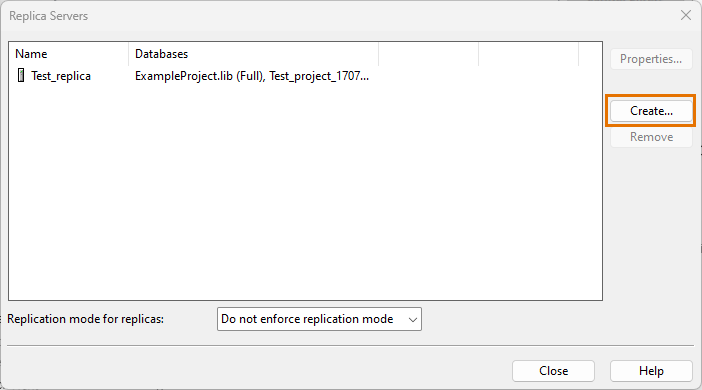
In the CADMATIC desktop, select Object > Manage COS Servers, browse to [server] > Replication, and click Add.
The Create Replica Server wizard opens.
-
-
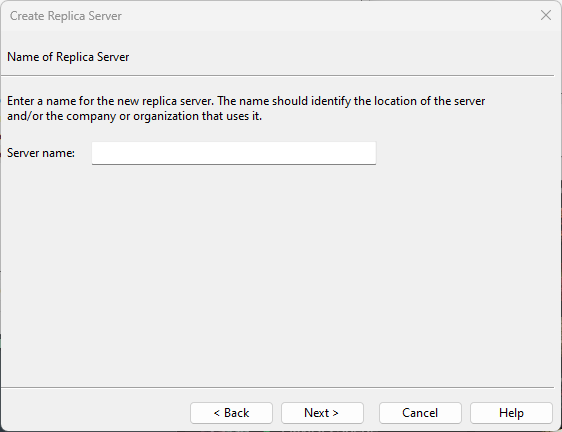
On the Name of Replica Server page, specify the server name.
-
Server name – Enter a descriptive server name that identifies, for example, the location, company, or user organization. Server names cannot contain spaces.
Click Next.
-
-
If you are in COS Networks, the Replicated Databases page opens.
-
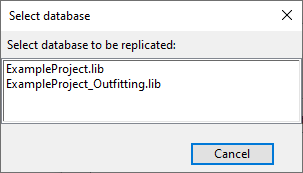
Click Add to select which library databases (.lib) to replicate.
Click Next.
-
-
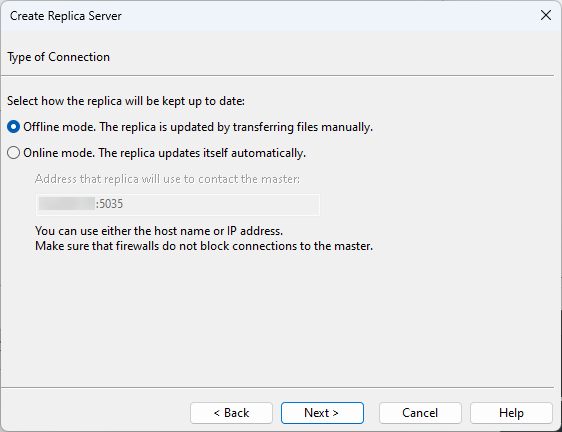
On the Type of Connection page, specify how to update the replica.
-
Offline mode – Updates must be transferred manually to the replica, for example by email, ftp, or removable media.
Note: Selecting offline mode includes the databases in the installation file.
Important: CADMATIC Hull does not support offline project sharing.
-
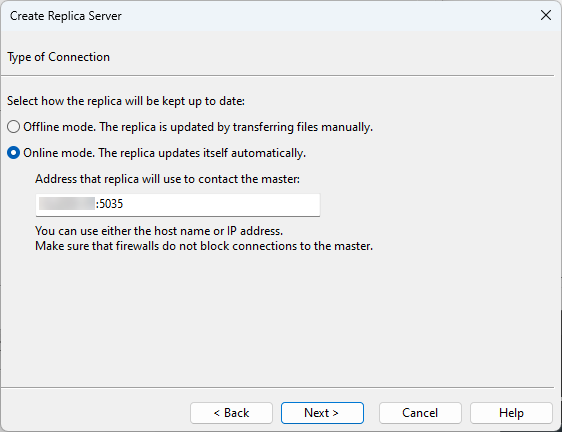
Online mode – Replica updates automatically via online connection—specify the master server's host name (or IP) and port.
Note: Selecting online mode does not include databases in the installation file, but you can add them later.
Click Next.
-
-
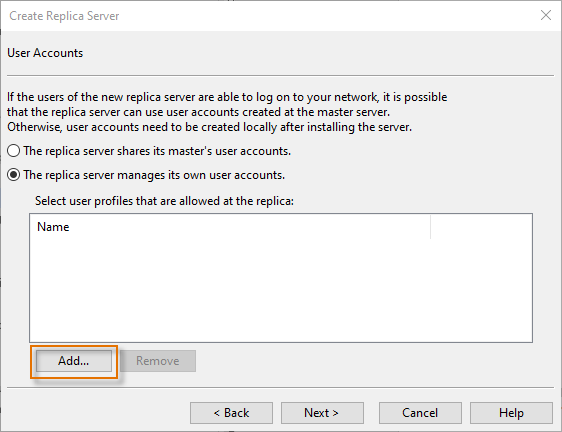
On the User Accounts page, select whether the replica server shares Windows user accounts with the main site or manages its own accounts.
Important: If Hull projects are involved in replication, do not share the user accounts. Sharing user accounts will result in unwanted behavior in Hull.
-
The replica server shares its master's user accounts – Shared accounts simplify user management but cannot be used when the replica server is outside your Windows network.
Important: Do not select this when replicating Hull projects. Sharing user accounts will result in unwanted behavior in Hull.
-
The replica server manages its own user accounts – Click Modify to select which COS user profiles to allow for user accounts in the replica server.
Important: When using the default profile types System Administrator, Project Administrator, and User, at least one account at the satellite site must use the System Administrator profile to enable local server administration.
Important: When the project is linked with Hull, the HCA user account needs project administrator rights, at minimum.
Note: If the satellite site uses a custom admin profile (typically, to provide fewer rights), ensure it is included in the security policy for server administration: Administrate servers in user's own domain: create and modify user accounts; create, remove, backup and restore databases.
Click Next.
-
-
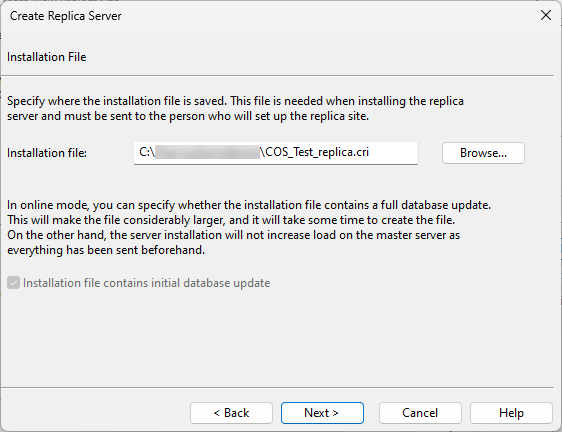
On the Installation File page, specify where to save the .cri file.
-
Installation file – Specify the saving location.
-
Installation file contains initial database update – If you chose Online mode, you can include databases in the file. This increases file size but reduces the master server's workload during replica installation.
Click Next.
-
-
On the Finishing page, click Finish. The .cri file is created in the specified location.
-
If you started the .cri creation from Manage Project, you can now complete the remaining process of Creating project sites.
Related Actions
Send the .cri file to the administrator responsible for Installing replica servers at the satellite site. Updates to offline replicas are done similarly.
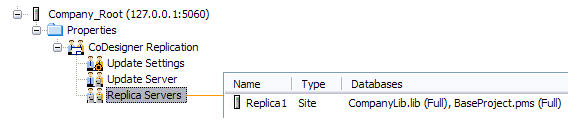
After installation, use the COS Networks dialog to verify that the replica server appears as expected.
In the example below, Replica Servers contains the replica server Replica1, and both databases (library and project) are replicated.