Creating project sites
At the main project site, you can add new project sites, also called satellite sites. This action creates a project-site object in the project database and transfers its ownership to the target replica server. The project-site object acts as a "project seed" when installing the project on the replica server.
Do the following:
-
In the CADMATIC desktop, select the project icon and then Object > Manage Project.
-
In the Manage Project dialog, select Replication tab > Add. The Create New Project Site wizard opens.
-
On the Setup for COS replica server page, select the replica server to use.
-
COS Replica Server – Select the replica server from the list.
If the server does not exist yet, click Create Replica and
Click Next.
-
-
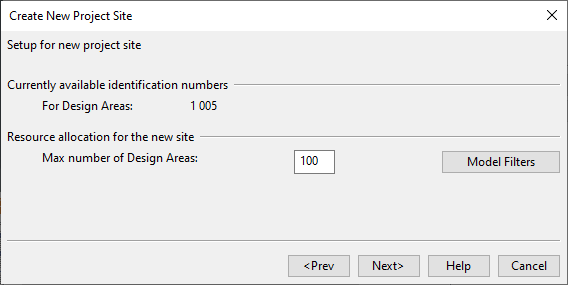
On the Setup for new project site page, define settings for design areas.
-
Max number of Design Areas – Specify how many design area IDs to reserve for the new site.
Important: This number cannot be changed later.
-
Model Filters – Optionally, define pass and deny boxes to specify which parts of the project area are visible in the new site.
Click Next.
-
-
On the Ready to create new site page, click Create, and then Finish when the process completes.