Installing satellite sites
Perform the following to install a satellite site on a replica COS server. This creates the basic project structure in the file system, and then it is possible to use the CADMATIC desktop to create a designer's workspace and application areas.
Prerequisites
- The replica COS server has been installed as described in Installing replica servers and is visible in COS Networks.
- At the master site of the project, administrator has added a new project site as described in Creating project sites. As a result, the replica COS server contains an installable project. If you used an existing replica server or the replica server has just been installed using a .cri file that did not contain a full database update, you may have to wait until the server has updated itself and received the information that it needs for starting the project site.
Do the following:
-
In the CADMATIC desktop, select Object > Install Satellite Site. The Install Satellite Site wizard opens.
-
Specify the COS server and project to use.
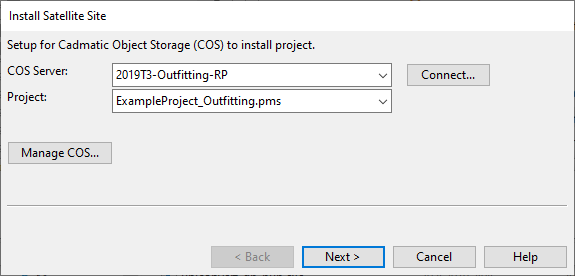
- COS Server – Select the replica COS server installed at this site.
- Project – Select the replicated project database.
Click Next. The Project Site Settings page opens.
-
Specify the root directory and Hull-related details.
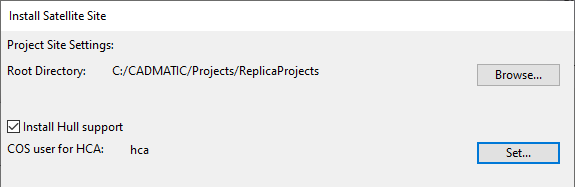
- Root Directory – Click Browse to specify the root directory where the shared files of the replicated project will be found at this site.
Important: This directory has to be shared by all workstations in your local area network that access the setup profiles and locally cached data.
- Install Hull support – If you are using this site for a Hull project, select this.
- COS user for HCA – If you are using this site for a Hull project, specify the COS user by clicking Set. If the COS network already contains a COS user that can be used for the project, select it from the Account drop-down menu and enter the password. Otherwise, click Create.
Click Next. The Ready to install the selected project page opens.
-
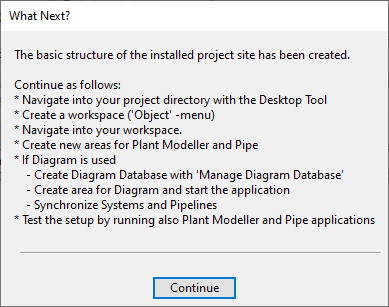
Click Install. When the project is installed, click Finish. The What Next? dialog opens.
-
Review the information and then click Continue.