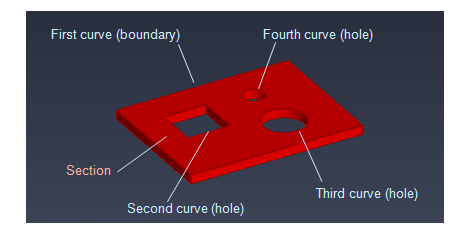
Creating a section
You can create a section, such as that shown in the picture below, as follows.
Do the following:
-
On the Insert tab, in the Primitive group, click Plate (or Sweep or Srev).
-
Pick the origin point for the section (for the first curve). We are creating a rectangle, so this point will be at the center of the rectangle.
-
Define the direction of thickness, such as Alt+Z for the positive Z axis.
-
Define the thickness of the plate, using either the context menu or a shortcut key to start the command of your choice.
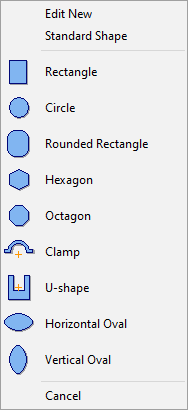
The shape menu opens.
-
Select the method to use for defining the shape of the boundary curve and then define the requested parameters for the given shape. For more information, see Curves.
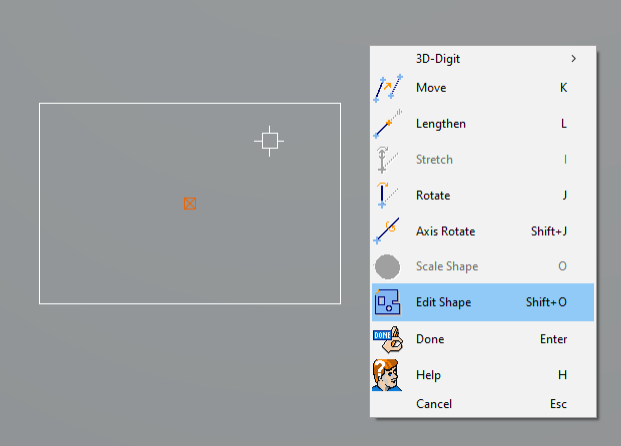
The specified section shape is displayed and the "Pick Action" mode is enabled.
-
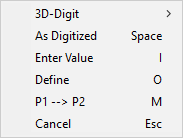
Press Shift+O or select Edit Shape from the context-menu.
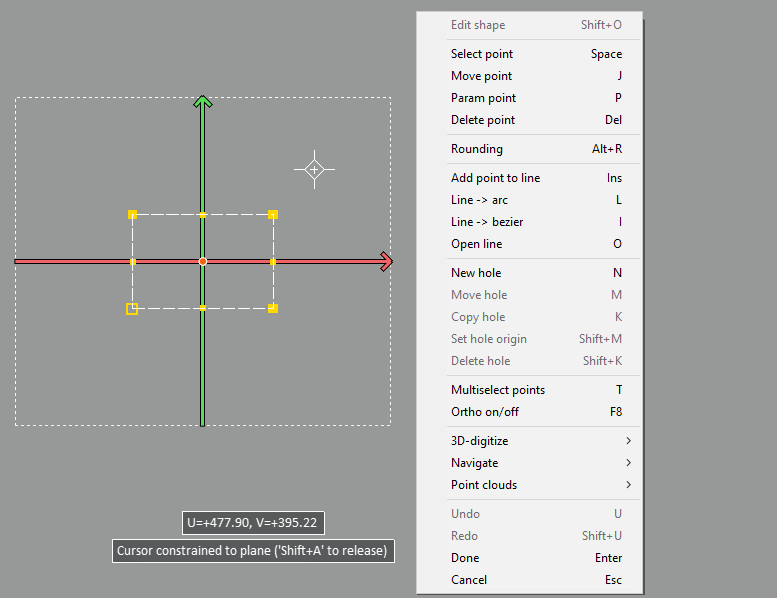
The section editor is activated and you can right-click the view to access the tools described in Section editor context menu.
-
Navigate to the point where you want the center of the first hole to be located. For example, press E to navigate to the nearest corner and then press D to define relative displacement from the corner to the center of the hole.
-
Press N or select New Hole from the context menu. The shape menu opens again, this time it is for defining the shape of the hole.
-
Select the shape of the first hole and then define its size parameters.
-
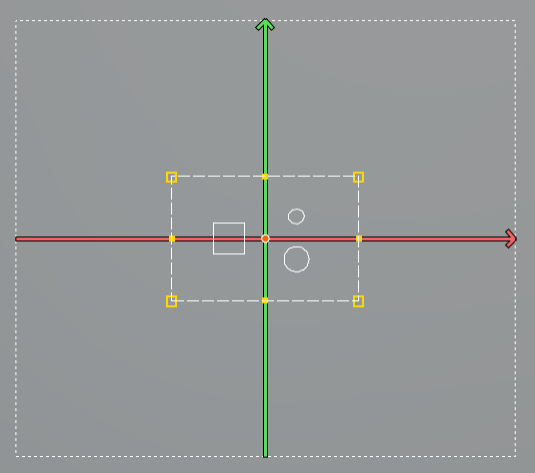
Move the cursor where you want the second hole to be and create the hole in the same way as the previous hole.
-
Create the third hole. The section definition is now ready.
-
Press Enter or select Done from the context menu to close the section editor.
-
Press Enter or select Done from the context menu to complete the editing of the primitive.