Pipe main documents
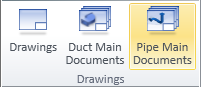
On the Documents tab, in the Drawings group, click Pipe main documents to open the Manage Pipe Main Documents dialog where you can manage pipe spool documents.
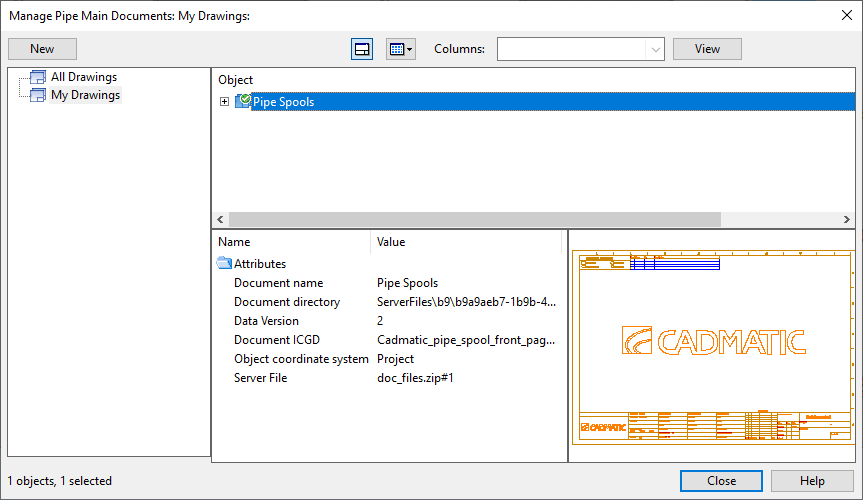
The general features of this dialog type are described in Document browser.
Before you can create pipe spool documents, the project administrator must define the settings described in Pipe Spool Drawing.
Creating a pipe main document
Normally, new main documents for pipe spools are created using the tools on the Pipe spools tab, as described in Main document. You can perform the following to create a new pipe main document only if there is already a pipe main document group for it.
Prerequisites
- Project contains a pipe main document group for the pipe spools to be included in the pipe main document.
Do the following:
-
On the Documents tab, in the Drawings group, select Pipe main documents. The Manage Pipe Main Documents dialog opens.
-
Select New > Pipe Main Document.
-
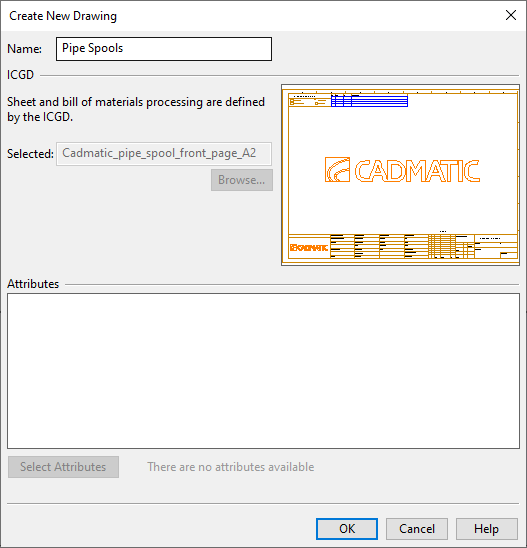
The Create New Drawing dialog opens for specifying the drawing properties.
-
Name – Enter a descriptive name for the drawing.
-
ICGD – Displays the ICGD that administrator has specified to be used in pipe spool drawings.
-
Select Attributes - Click to select which attributes to add to the drawing. Fill in the attribute values and click OK.
Click OK to continue.
-
-
Next, you associate the new document with a pipe spool group. Right-click the new pipe main document and select Edit from the context menu.
-
In the Select associated Group containment browser, select a pipe main document group from the hierarchical tree and click OK.
-
In the Pipe Main Documents dialog, if there are spools in the New category, select those spools and click Create.
-
Click OK to close the Pipe Main Documents dialog.
Managing pipe main documents
Perform the following to manage pipe main documents.
Do the following:
-
On the Documents tab, in the Drawings group, select Pipe main documents. The Manage Pipe Main Documents dialog opens.
- Right-click the document you want to edit and select Edit from the context menu.
-
If you are prompted whether to visit the save point, select Yes to synchronize the objects in your local area model with COS or No if you want to proceed without saving.
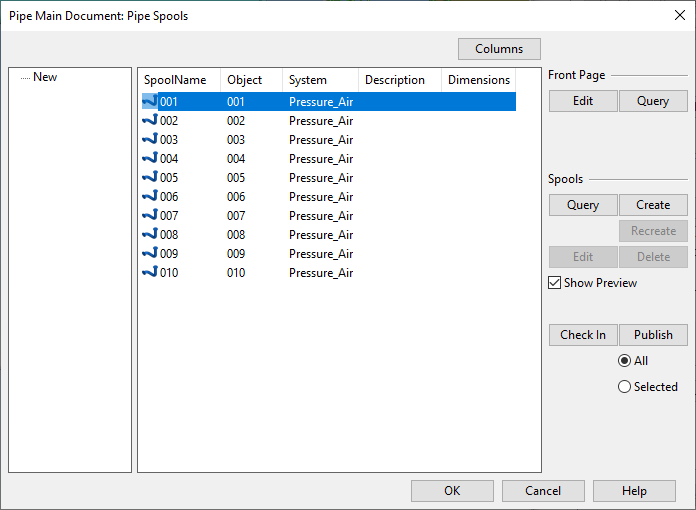
The Pipe Main Document dialog opens.
-
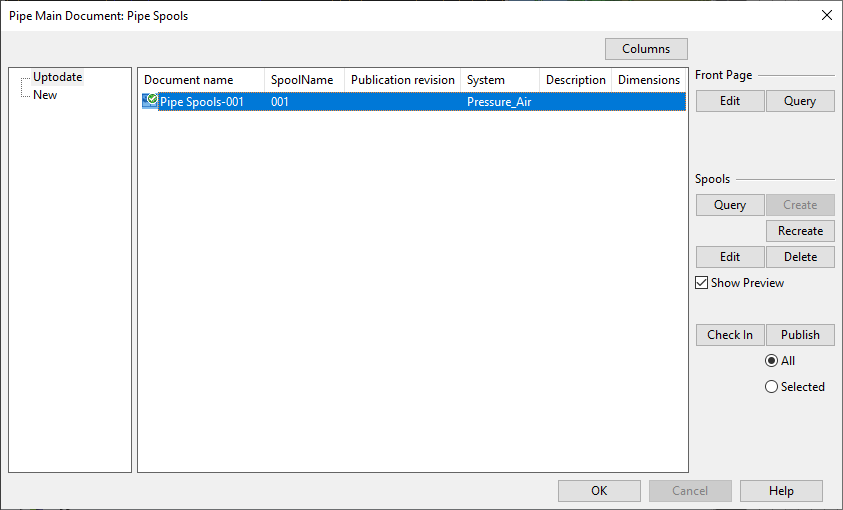
Select a category from the left to show the items in that category.
Category
Description
Action
Uptodate
The spool matches the spool drawing. (none) New
The spool is assigned to the main document, spool drawing not created yet.
Create the spool drawing.
Changed
The spool has changed in the 3D model, spool drawing no longer up-to-date.
Recreate the spool drawing.
Deassign
The spool has been deassigned from the main document.
Delete the spool drawing.
Delete
The spool no longer exists in the 3D model.
Delete the spool drawing.
-
Select one or more items from a given category and use the following tools to manage them as required.
Front Page
- Edit – Opens the main document's front page for editing. You can, for example, set it to show the page index and some general data related to the spool drawings. For details, see Document editor.
- Query – Displays the properties of the main document group.
Spools
-
Query – Displays the properties of the selected spool object.
-
Create – Creates a spool drawing for the selected spools and lists them in the Uptodate category.
-
Recreate – Completely recreates the selected spool drawing, removing all manually edited changes.
-
Edit – Opens the selected spool drawing for editing. For details, see Document editor.
-
Delete – Deletes the selected spool drawing.
Document
- Check In – Checks in the document's front page and spools.
- Publish – Checks in and publishes the document's front page and spool drawings. You can select whether to publish all items in the Uptodate category or just the selected ones.
-
Click OK to close the Pipe Main Documents dialog.